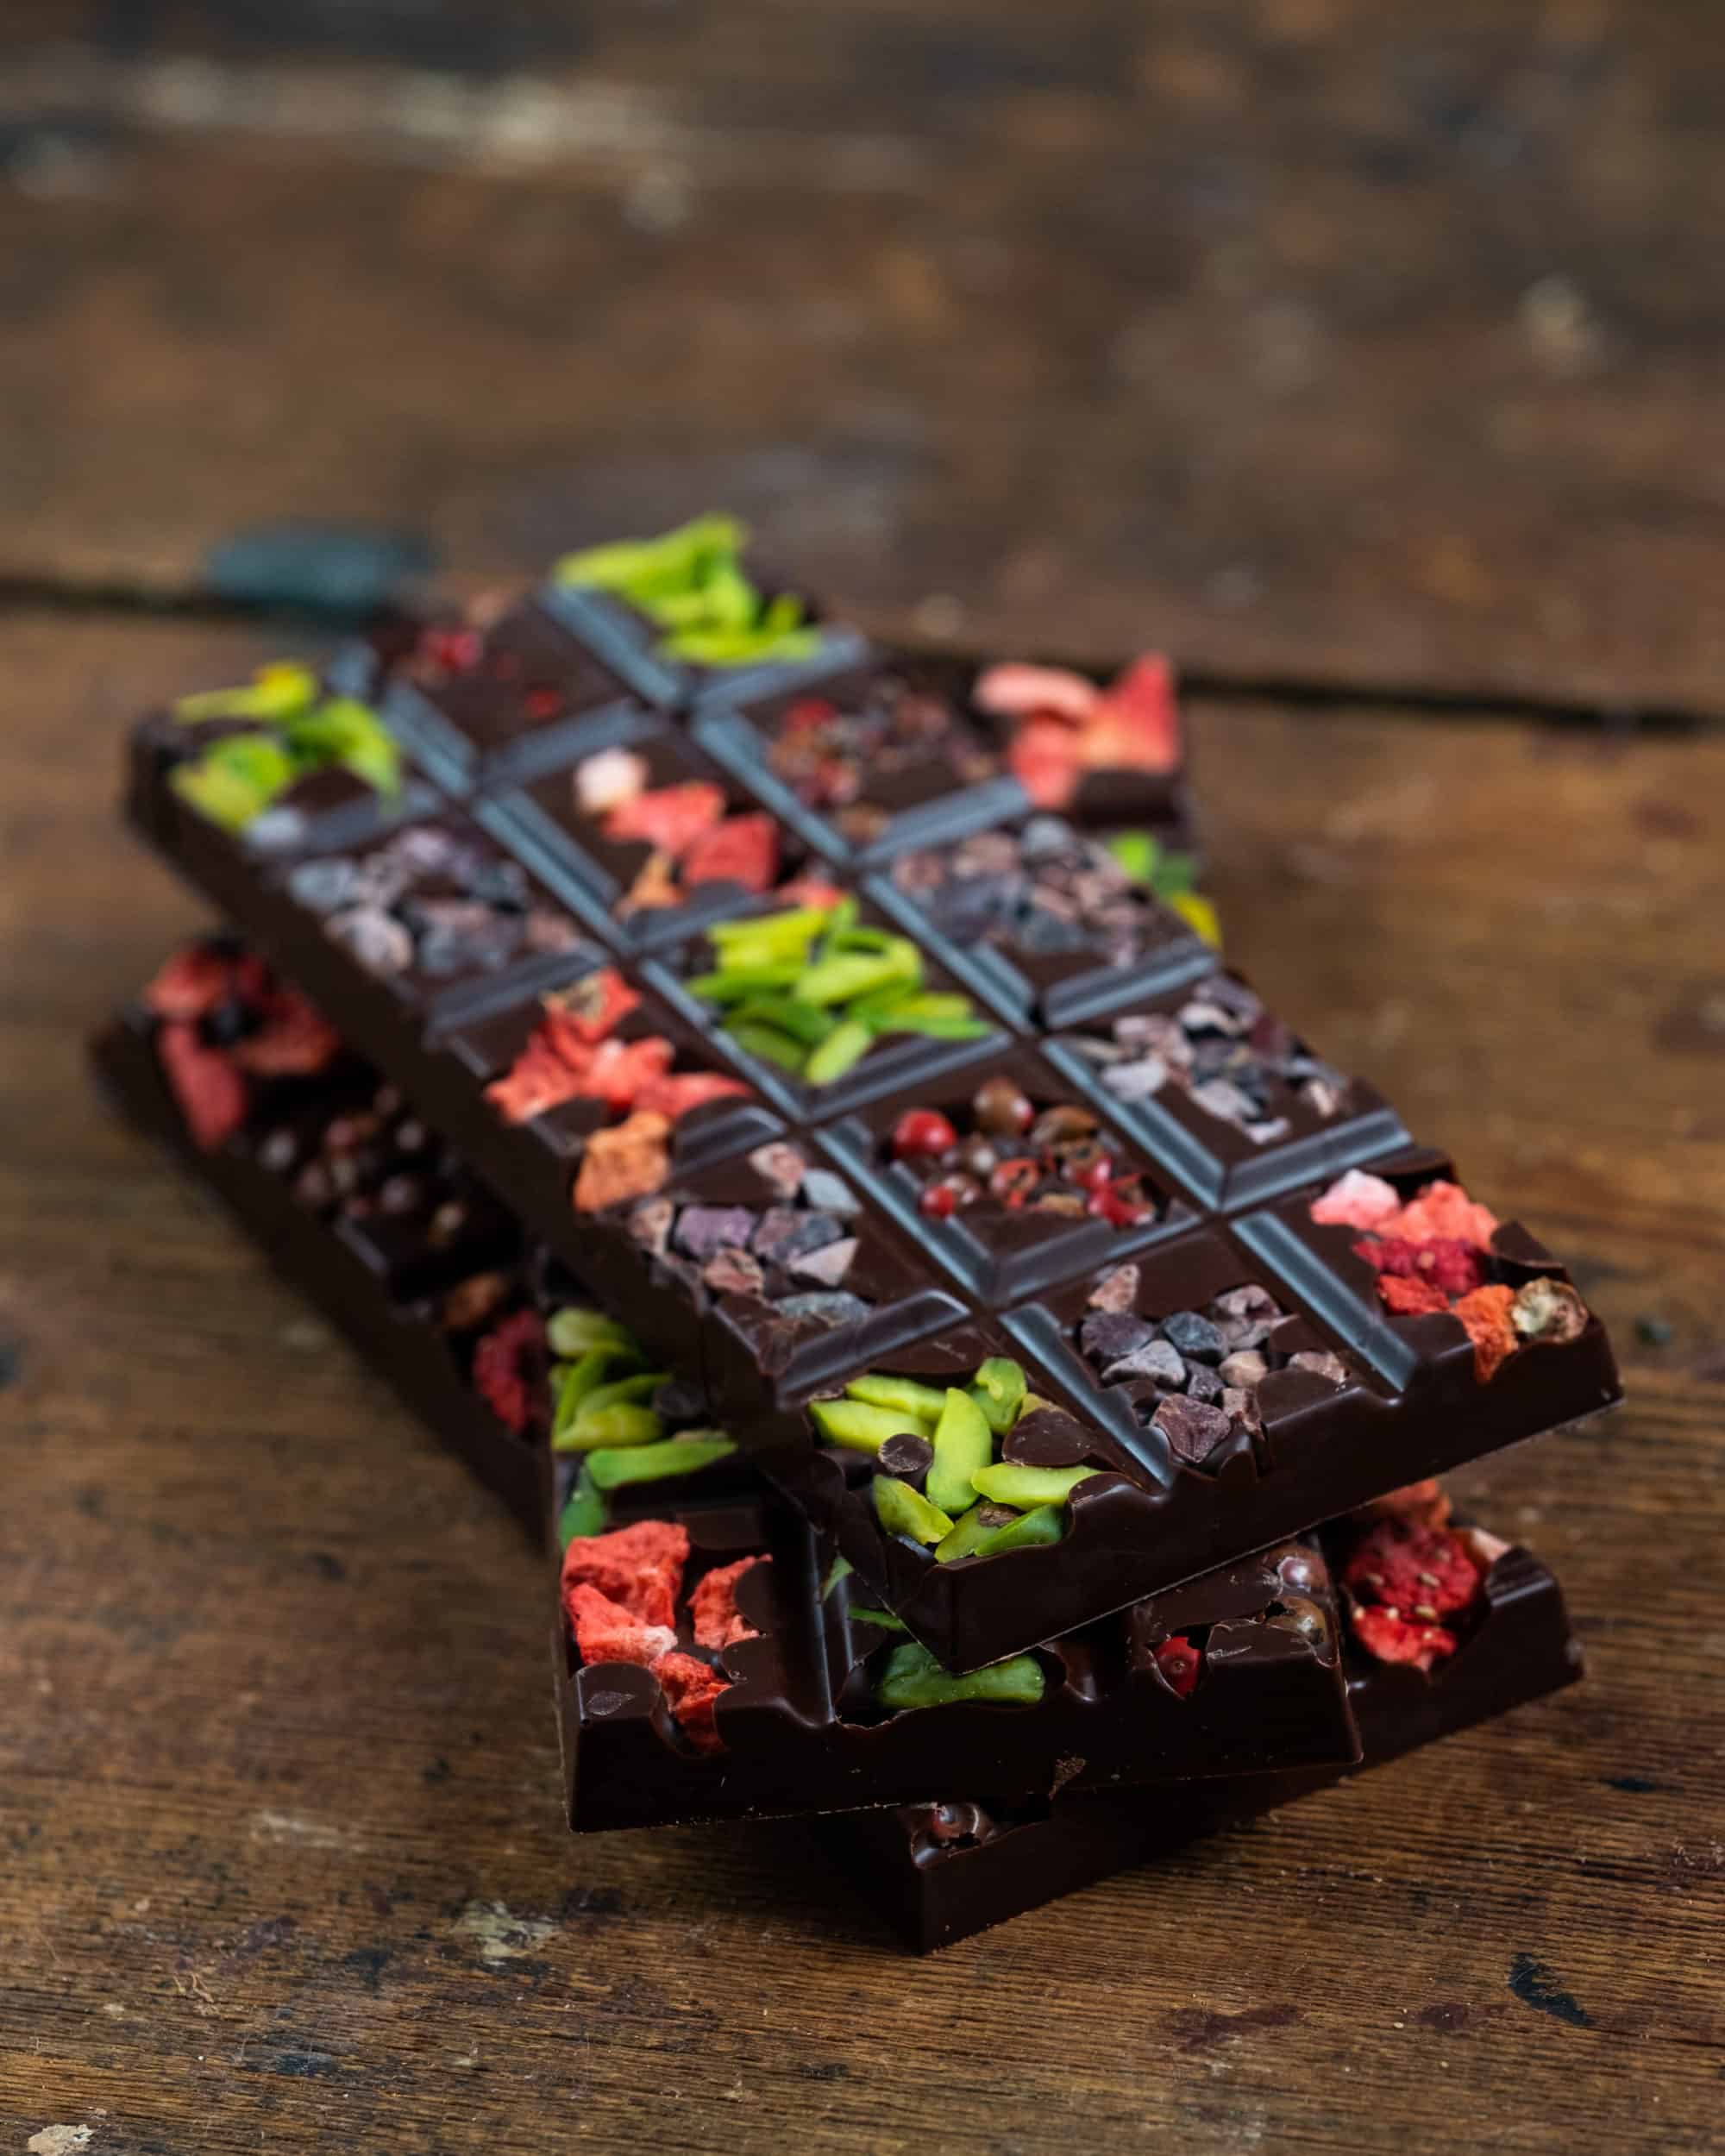
Raw Chocolate Hearts are a lovely chocolate to make any time of year, but, of course, they’d be perfect for Valentine’s Day.
The base recipes for these hearts are a collection of chocolates made in the free mini course and Level 1 of the complete online course. You can use any freeze dried fruit powder you’d like, but I used raspberry. Strawberry comes out more pink.
Learn how to make raw chocolate from scratch on my free online raw chocolate mini course.
Raw Chocolate Hearts
Ingredients
What you’ll need
- Heart mould of your choice - this can be polycarbonate (as demonstrated in the videor silicone. Polycarbonate will create a shiny finish on the chocolate.
- 200 g white chocolate
- 200 g dark or milk chocolate
- Freeze dried fruit powder - I used raspberry in the video but strawberry also works and gives a more pink colour than raspberry.
- Piping Bags
- Fine Sieve
Instructions
- Prepare your poly mould by polishing it with cotton wool or a microfibre cloth to get that lovely shine. Your mould should be at room temp, do not make cold or warm before filling as this will remove the chocolate from temper or cause it to crack.
- Sieve the berry powder you’re using to remove the seeds. Start with ½ tbsp and increase if needed to achieve the colour you want.
- Heat the white chocolate to 42°C / 107°F, and then pour a little into the bowl with the fruit powder and mix well to combine. It’s easier to mix into a small amount and then you add more chocolate to reach the colour desired.
- Stir this chocolate until it reaches 28°C/29°C ( 82°F/84°F ) and then carefully pipe into the bottom of the prepared mould. Be careful not to allow the chocolate to drip down the sides of the mould as it will show on the finished product.
- Place this mould to one side to semi set whilst you temper the white chocolate. This layer should go matte before you add the white chocolate layer.
- Be sure the white chocolate has reached 42°C / 107°F before beginning to temper. Once it’s dropped down to 28°C/29°C transfer to a piping bag and pipe a little onto the fruit layer. We just want a thin layer so don’t add too much. Shake and tap the mould to help the chocolate settle.
- Place to one side whilst you temper the dark/milk chocolate layer.
- Once the white has semi set, same as the fruit layer, pipe in dark/milk chocolate to fill. Tap the mould to remove air bubbles before setting in the fridge 5 minutes and room temp until full set. When the chocolate has set ( in a hard mould ) it will contract from the mould. This is how you know it’s ready to come out.
- Invert the mould onto a cutting board, as seen in the video, and tap the back to release the chocolates.
FREE Videos: Start watching and learning today
Are you a visual learner? Yeah, me too. If I can’t be there in person, I love a video. This FREE mini series covers everything you need to know in order to start making professional quality chocolate at home with ease.
Want to know when a new recipe is posted?
You’re busy. I know this. You can’t keep checking my site for new recipes. Sign up for my newsletter and I’ll send you a new recipe every week. Boom!


