The Art of Chocolate Making Using Natural Ingredients
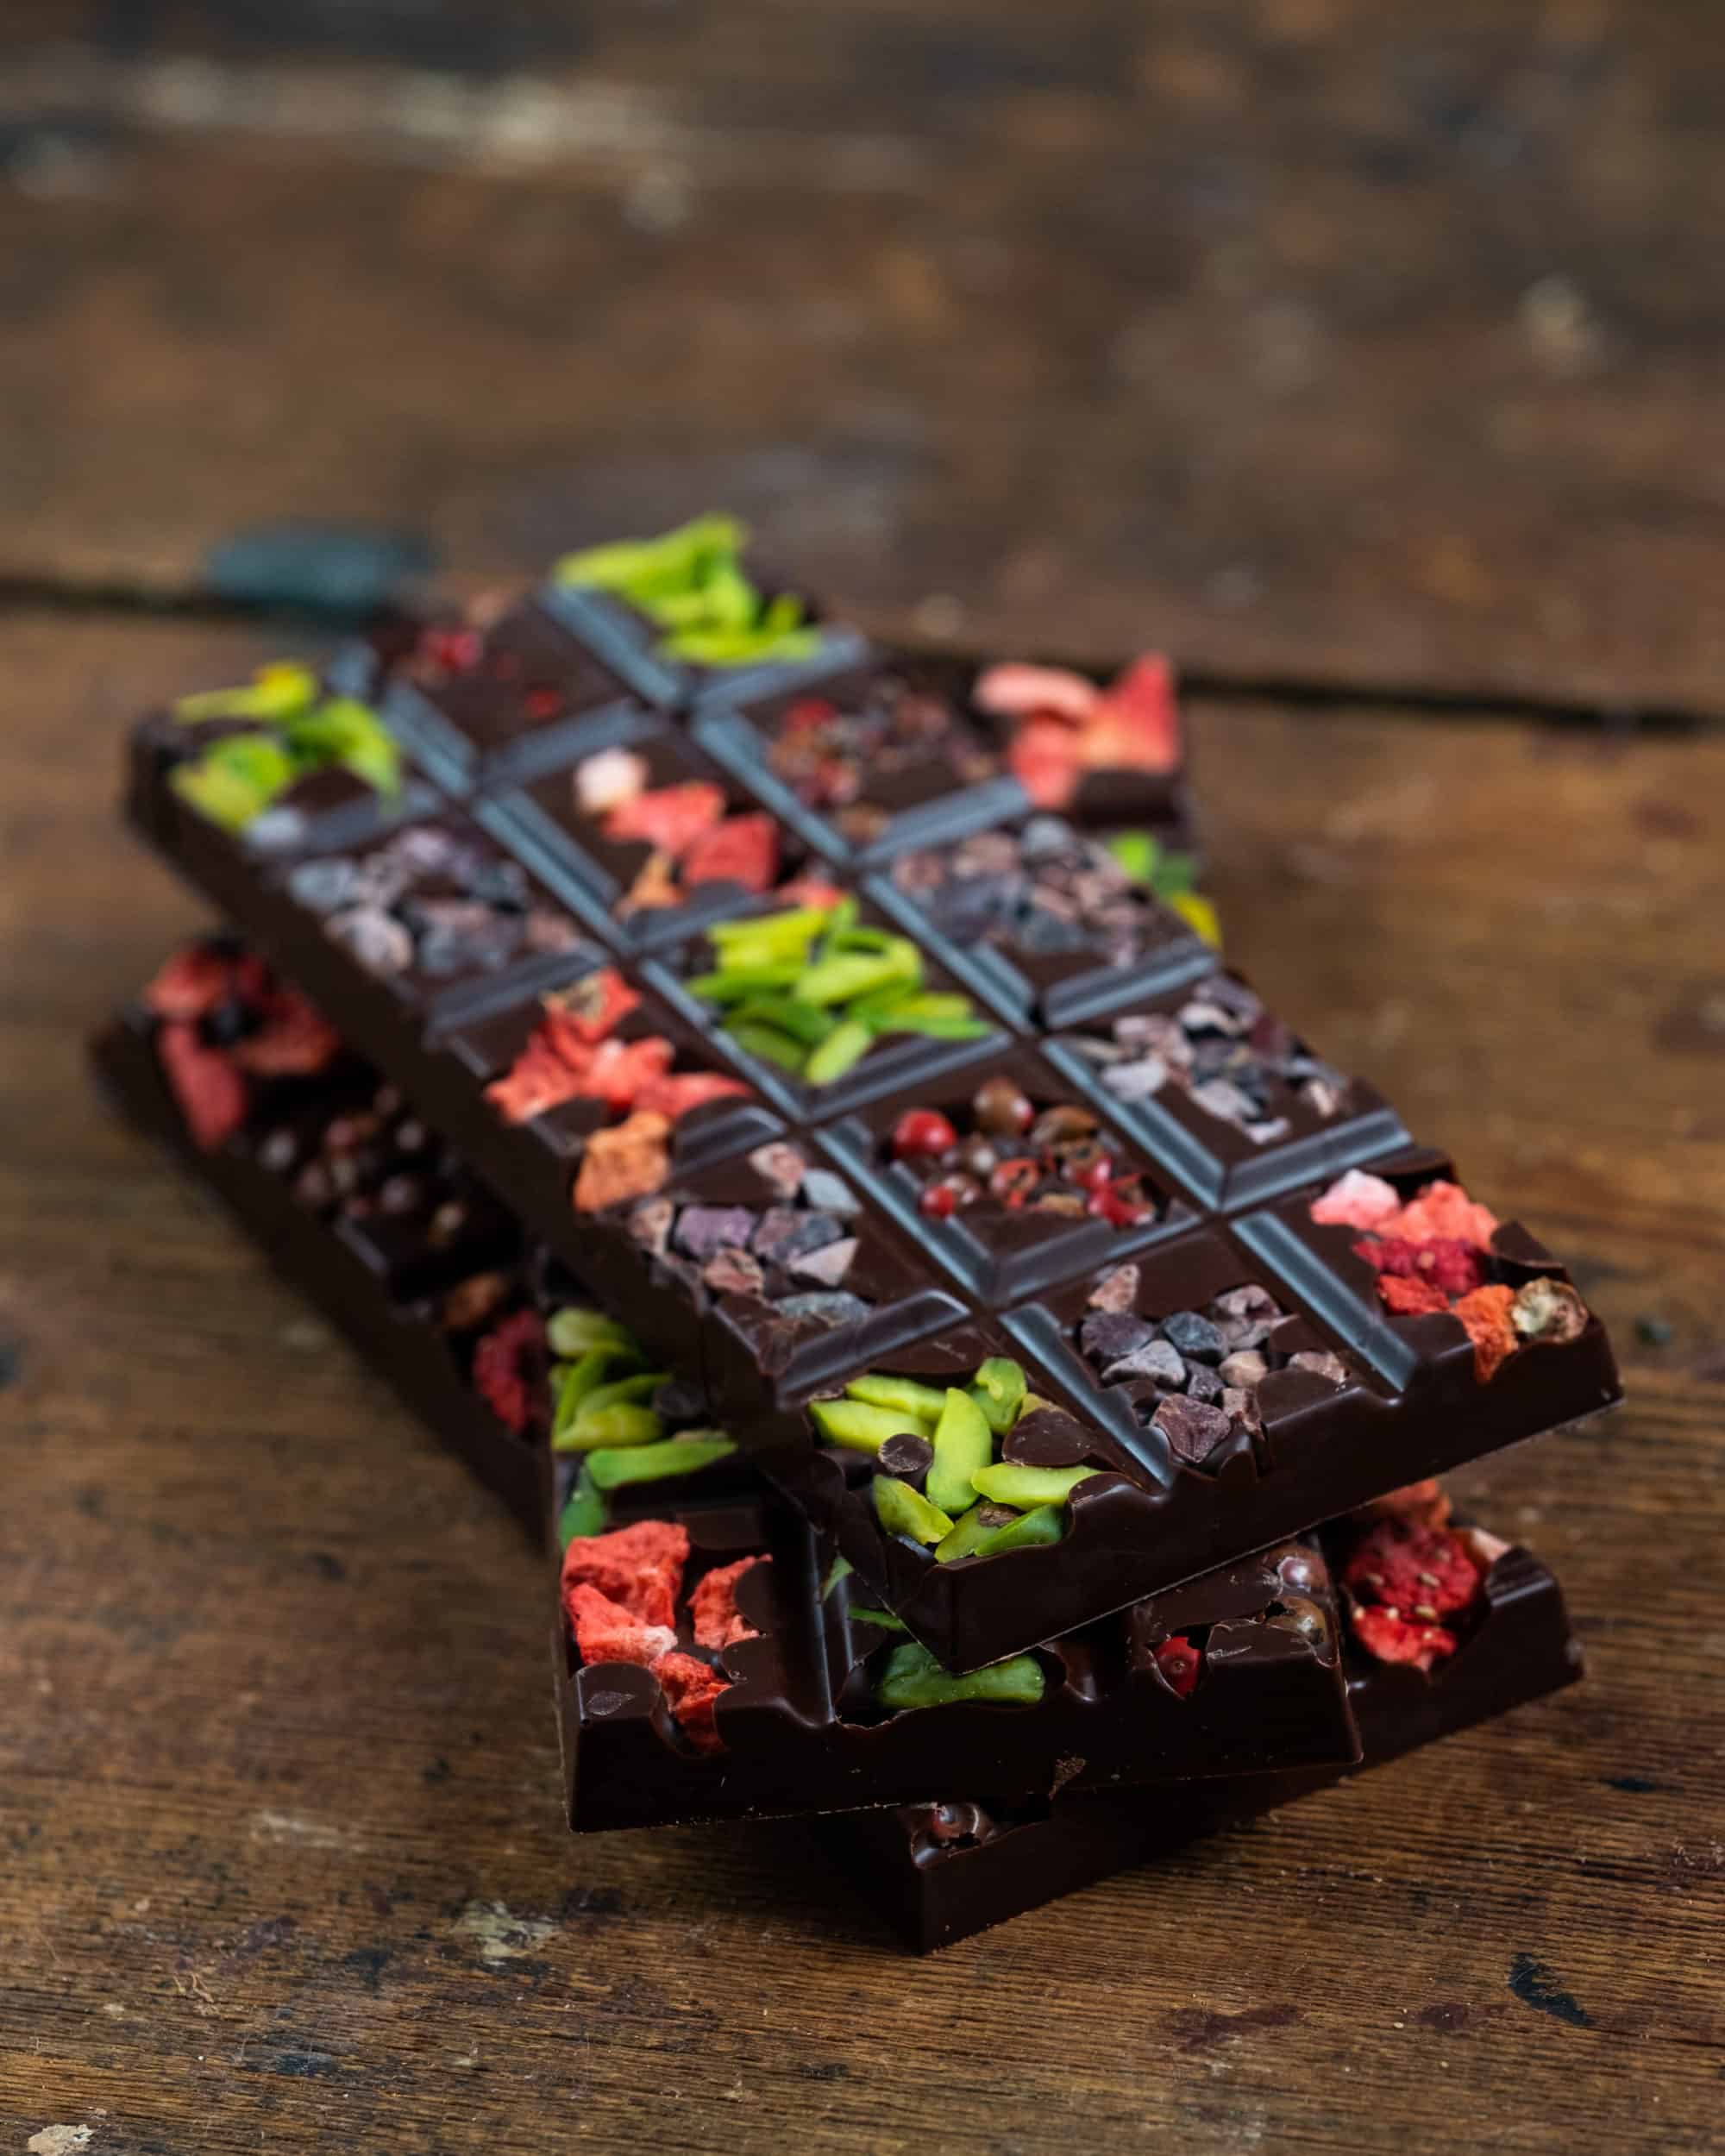
Bonbons are chocolates made in polycarbonate moulds. The cavities are
painted with coloured cocoa butters, shelled and filled with 2 or more layers.
Technical skills that lead to creative expression
Elements covered in this class …
Bonbon Design
Each bonbon class covers new design techqniues using easy to find tools, like paint brushes and sponges, and naturally coloured cocoa butters. For this class I am using a Chocolate World 2116 mould, which is a larger capacity mould, 13g to be exact. This gives us more decorating space, but also more internal space for layering. In this class, we’re doing my favourite marble design. It’s a quick and easy design, especially if you want to make these to sell.
Spiced Chocolate Gin Caramel Ganache
The name is a mouthful, I know, but it perfectly describes this bonbon. I’m using a locally produced spiced gin for this ganache. To get those subtle flavours in the gin to stand out, I entice them with additional spices like star anise and cardamom. The dark chocolate is the best match for this ganache (I tested it using white, but dark is the winner) and the end result is a beautifully balanced caramel ganache. I’m actually not a fan of gin, but in this bonbon, it’s fantastic. Plus, customers dig it.
Hazelnut Praline
You don’t want to overdo this bonbon by adding more flavours and textures, but a simple, dark roasted hazelnut praline did the trick. It gives a creaminess and also goes very nicely with all the flavours in the caramel ganache. This element really compliments it and brings the whole thing together. We’ll be making this praline in a stone grinder, as I want to add sweetener to it, but you could also use a food processor and not sweeten it.
Cleaning & Polishing Moulds
This might seem like an obvious point, but caring for your professional moulds is very important. The way you care for them will ensure longevity of the mould and a brilliant, mirror shine on the chocolate.
Shelling & Capping
No matter how much experience you have in this, you can always refine your technique and learn something new. My technique for both these applications has changed over the years, and now I cap by applying chocolate to the back of the mould, rather than using an acetate sheet. It’s quick and easy once you know some little tricks and get some experience under your belt.