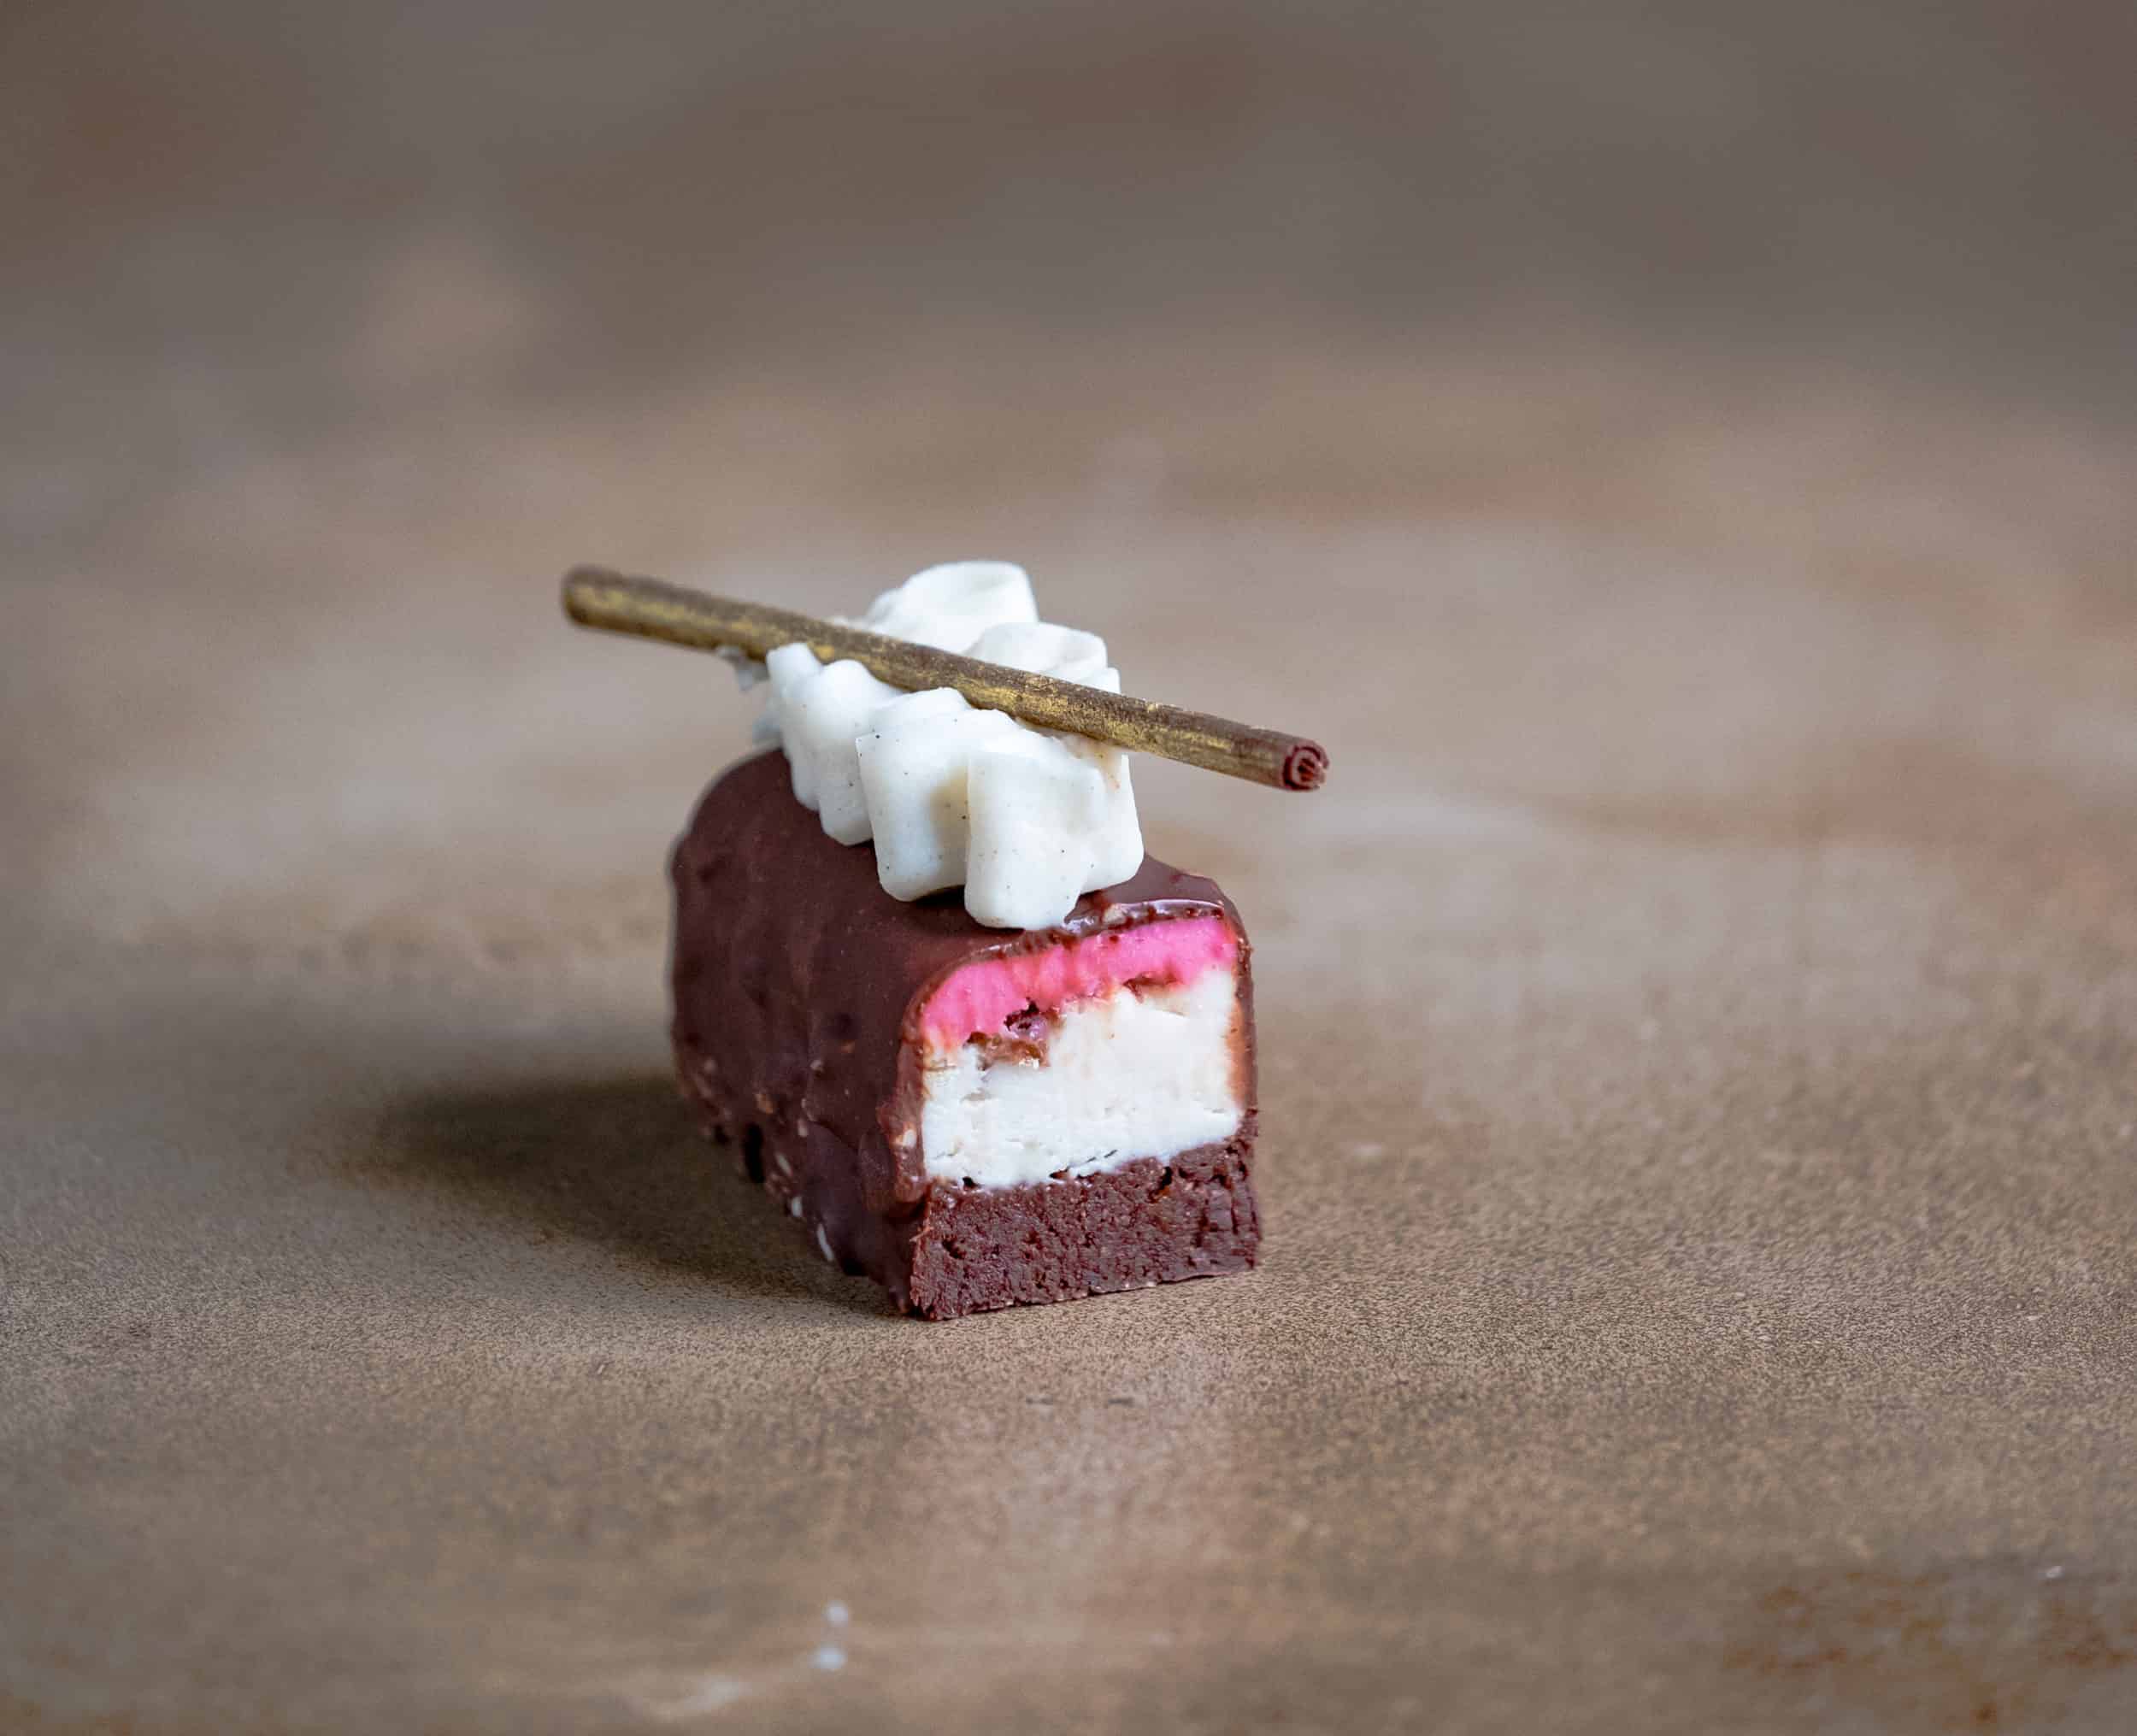
Neapolitan Cheesecake Brownies are a rich, deep brownie layered with refreshing, creamy vanilla and cherry cheesecake and covered in an almond textured chocolate. If you want to get into fermented cashews for making desserts, you might like these Coffee Cheesecake Tartlets too. Fermenting the nuts makes for a lighter texture and makes it more easily digestible. If you haven’t done this before, you might like to start with a base line Fermented Cashew Cheesecake.
Neapolitan Cheesecake Brownies
Ingredients
Fermented Cashew
- 250 g cashews, soaked
- 2 tsp probiotic powder
- 100 g water, or just enough to blend
Vanilla Cheesecake
- 1 recipe Fermented Cashew above
- 150g (¾ cup) xylitol, powdered
- 40 g lemon juice
- 150 g coconut oil, melted
- 6-8 drops vanilla medicine flower extract or 1 tsp vanilla beans scraped from the pod
Cherry Layer
- ¼ cup freeze dried tart cherries
- 1 tsp beetroot powder if needed to achieve bright colour
Almond Crunch Brownies
- 35 g heaped oat flour
- 35 g ⅓ cup level ground almonds
- 35 g ¼ cup heaped cacao powder
- 35g (heaped ¼ cup) coconut sugar
- 1 tsp tamari
- 35 g almond butter
- 2 tbsp cacao butter melted
- 35g (3-4) fresh medjool dates, pitted
- 1-2 tbsp water as needed to achieve texture
- 50g (¼ cup) activated or candied almonds
Chocolate Almond Coating
- make this once the bars are set and ready to dip
- 100g (3.5 oz) cacao paste
- 40 g coconut oil
- 40 g maple or honey
- 40 g chopped almonds
- pinch salt
Instructions
Fermented Cashew
- Blend the cashews with the probiotic powder and just enough water to create a thick mixture.
- Transfer to a mixing bowl, press cling film or greaseproof paper right down on top of the mixture so as to not form a crust on top and pop in a warm space for 12 - 24 hours.
- The mixture should be aerated and slightly sour smelling when you check on it.
Vanilla and Cherry Cheesecakes
- Combine first set of ingredients in a high speed blender until smooth.
- Pour ⅛ - ¼ of the vanilla into a container and place in the fridge to set, this will be for piping on top.
- Pour the other ½ of the vanilla into a container and set aside at room temp until ready to pour onto the brownie base.
- Add the cherry layer ingredients and blend to mix well.
- Transfer the mix to a bowl and set aside at room temp until ready to use.
Almond Crunch Brownies
- In a food processor combine the first set of ingredients and pulse.
- Add the second set of ingredients and blend to combine. The mix should just come together in the processor, but not be so moist it forms a ball. If you think it needs more liquid, add 1 tsp at a time, process and add more if needed.
- Pulse through the almonds right at the end.
- Line a square baking tin with cling film -- mine was L 18cm x W 18cm x H 7cm
- Press the brownie mix into the tin and smooth it down with the back of a spoon.
- Pour on the vanilla cheesecake layer and sprinkle the top with candied or activated almonds to cover. Gently press them so they stick into the cheesecake as it sets.
- Pop in the freezer to set this first layer, about 30 mins or until the middle is firm to the touch.
- Spread on the cherry cheesecake layer and smooth it down with an offset spatula.
- Pop the whole tray in the freezer to set again, about 30 minutes or until middle is firm to the touch.
- Cut into rectangles or your choice of shape and place on a greaseproof paper lined tray. Pop in the fridge while you prepare the chocolate coating.
Chocolate Almond Coating
- Melt the cacao paste and coconut oil over a double boiler.
- Remove from the heat and whisk in the remaining ingredients.
- Grab the bars out of the fridge, pick one up from the bottom (brownie) and dip the bar in so the entire thing gets coated. Allow excess to drip off before turning right side up and placing on a greaseproof paper on lined baking tray.
- Continue until all bars are enrobed and then pop back in the freezer to set, about 5 mins.
- Once the chocolate is set, pipe some vanilla cheesecake on top and serve right away of store in an airtight container in the fridge for 3-5 days. Store in the freezer for several months.
Related: Become a Fermentation Ninja – without Leaving Your Pajamas
FREE Videos: Start watching and learning today
Are you a visual learner? Yeah, me too. If I can’t be there in person, I love a video. This FREE mini series covers everything you need to know in order to start making professional quality chocolate at home with ease.
Want to know when a new recipe is posted?
You’re busy. I know this. You can’t keep checking my site for new recipes. Sign up for my newsletter and I’ll send you a new recipe every week. Boom!


