Making hollow chocolate shells and filled chocolates are one of my favourite techniques. But, that wasn’t always the case.
When I first started working with chocolate, it was chocolate I made myself in a blender. So the viscosity was poor and the texture was very grainy. This made it challenging and very messy.
When using stone ground or couverture (pre-made) chocolate, it’s so easy because the chocolate is already super viscous, silky smooth and will coats the mould very well.
Why shell a mould?
Casting a chocolate shell is used in the following cases:
- Making hollow objects such as Easter Eggs or anything that you want hollow so you can fill with truffles, love notes, etc..
- Making painted or plain bonbons or other types of filled chocolates.
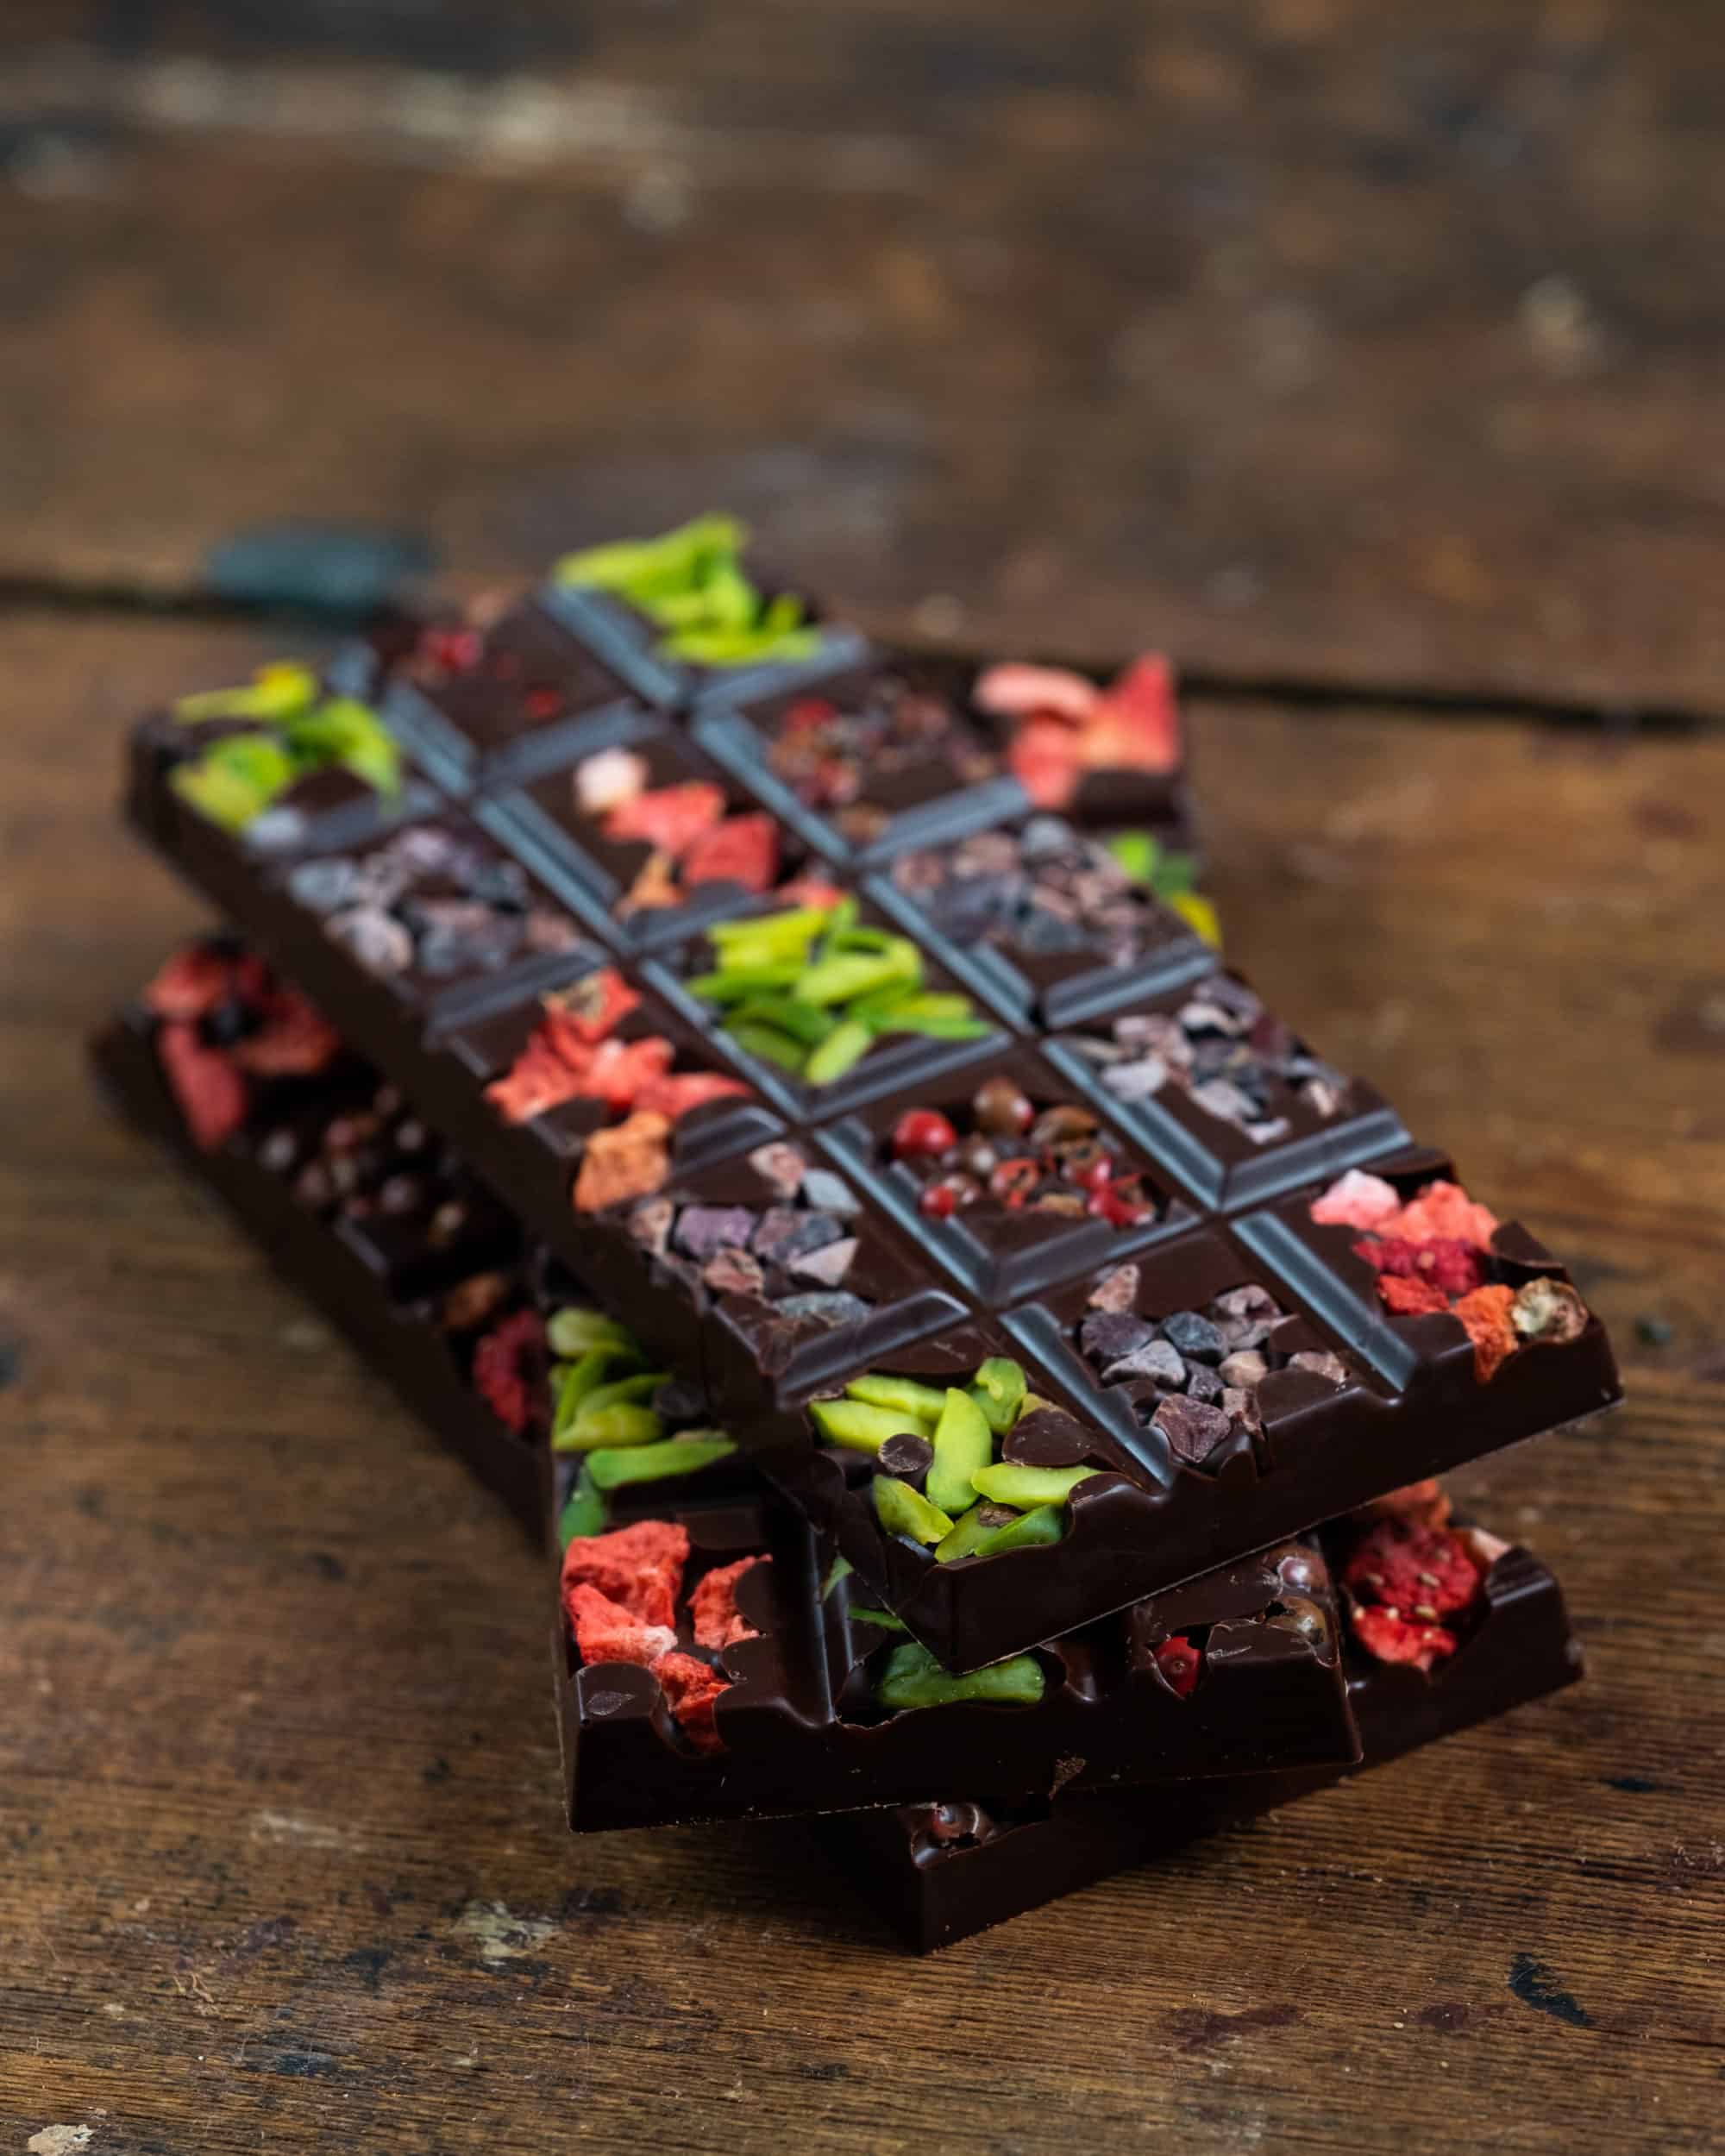
- Filling chocolate bars with caramels, pralines, etc..
- To make different types of chocolate objects or garnishes – such as making sculptures or even a chocolate serving bowl to put fresh fruit and whipped cream into.
What tools & equipment are needed?
- Professional or polycarbonate moulds – these are hard plastic moulds that make shelling much easier than silicone or soft plastic.
- 1-2 wide scrapers – for scraping the chocolate out of the mould and cleaning your surfaces
- Heat gun – not necessary, but very helpful to keep the chocolate in temperature range while you work.
- Thermometer – this infrared one is my preference but you can use a probe if that’s what you have.
- A big bowl – Mine is 10L capacity. This is used for tempering the chocolate and tipping the excess chocolate back into after shelling.
- Cocoa butter silk – that’s my favourite tempering aid, but you can temper however you feel most confident.
- And, the most important, chocolate! Use your favourite chocolate or your own stone ground chocolate.
Additional Support
- You can click here to learn how to make cocoa butter silk or click here to buy some.
- If you would like a deep dive class on how to make hollow shells and filled chocolates, click here.
- Learn how to make stone ground chocolate at home or work.
Instructions
To Shell
- To calculate the amount of chocolate you will need, just multiply the number of cavities with the weight of 1 cavity. For example, if there are 32 cavities and the capacity per cavity is 10g you will need a min of 320g chocolate. But I would use 400g to be safe and have a little extra.
- Melt the chocolate and temper it using your method of choice.
- Once tempered, bring the chocolate to 31c before starting.
- Pour chocolate into each cavity to fill and then use the scraper to tap the side of the mould to remove air bubbles.
- Invert the mould over your large bowl and tap the side with the scraper to remove the excess.
- Keep inverted while you scrape the excess away.
- Place the mould on its side and allow it to cool for about 10 mins this way, after that, place flat and allow to fully crystallise – about 1 hour.
- It's best to allow it to set in a temperature no higher than 18c.
To Fill
- The filling should be no higher than 30c or it can melt the chocolate shell.
- Piping the filling into the shell and leave 1mm or so of space.
- Allow to set before either capping or fusing the two shells together (if you're using shapes that fuse well such as a half sphere, cocoa pod, etc.. )
To Cap
- Heat the back of your mould with a heat gun or hair dryer. The shells should just glisten, not melt.
- Pour tempered chocolate across the back few rows of the mould to fill the empty space and then use your scraper to slowly scrape the chocolate along the length of the mould to fill in all the cavities.
- Allow to set about 15 mins before removing from the mould.
To Fuse
- Heat the back of a frying pan, large pot or baking pan to about 35c.
- Press two shells open side down onto the pan and then press them together to seal.
- Place them back into the cavity of your mould to hold them while they set.
- Either use them as is or you can finish by rolling them in chocolate.
Video
FREE Videos: Start watching and learning today
Are you a visual learner? Yeah, me too. These FREE livestream classes cover a wide range of topics within chocolate and dessert making.
Be the first to get free recipes and classes
Join my mailing list and be the first get free recipes and hear about upcoming classes.