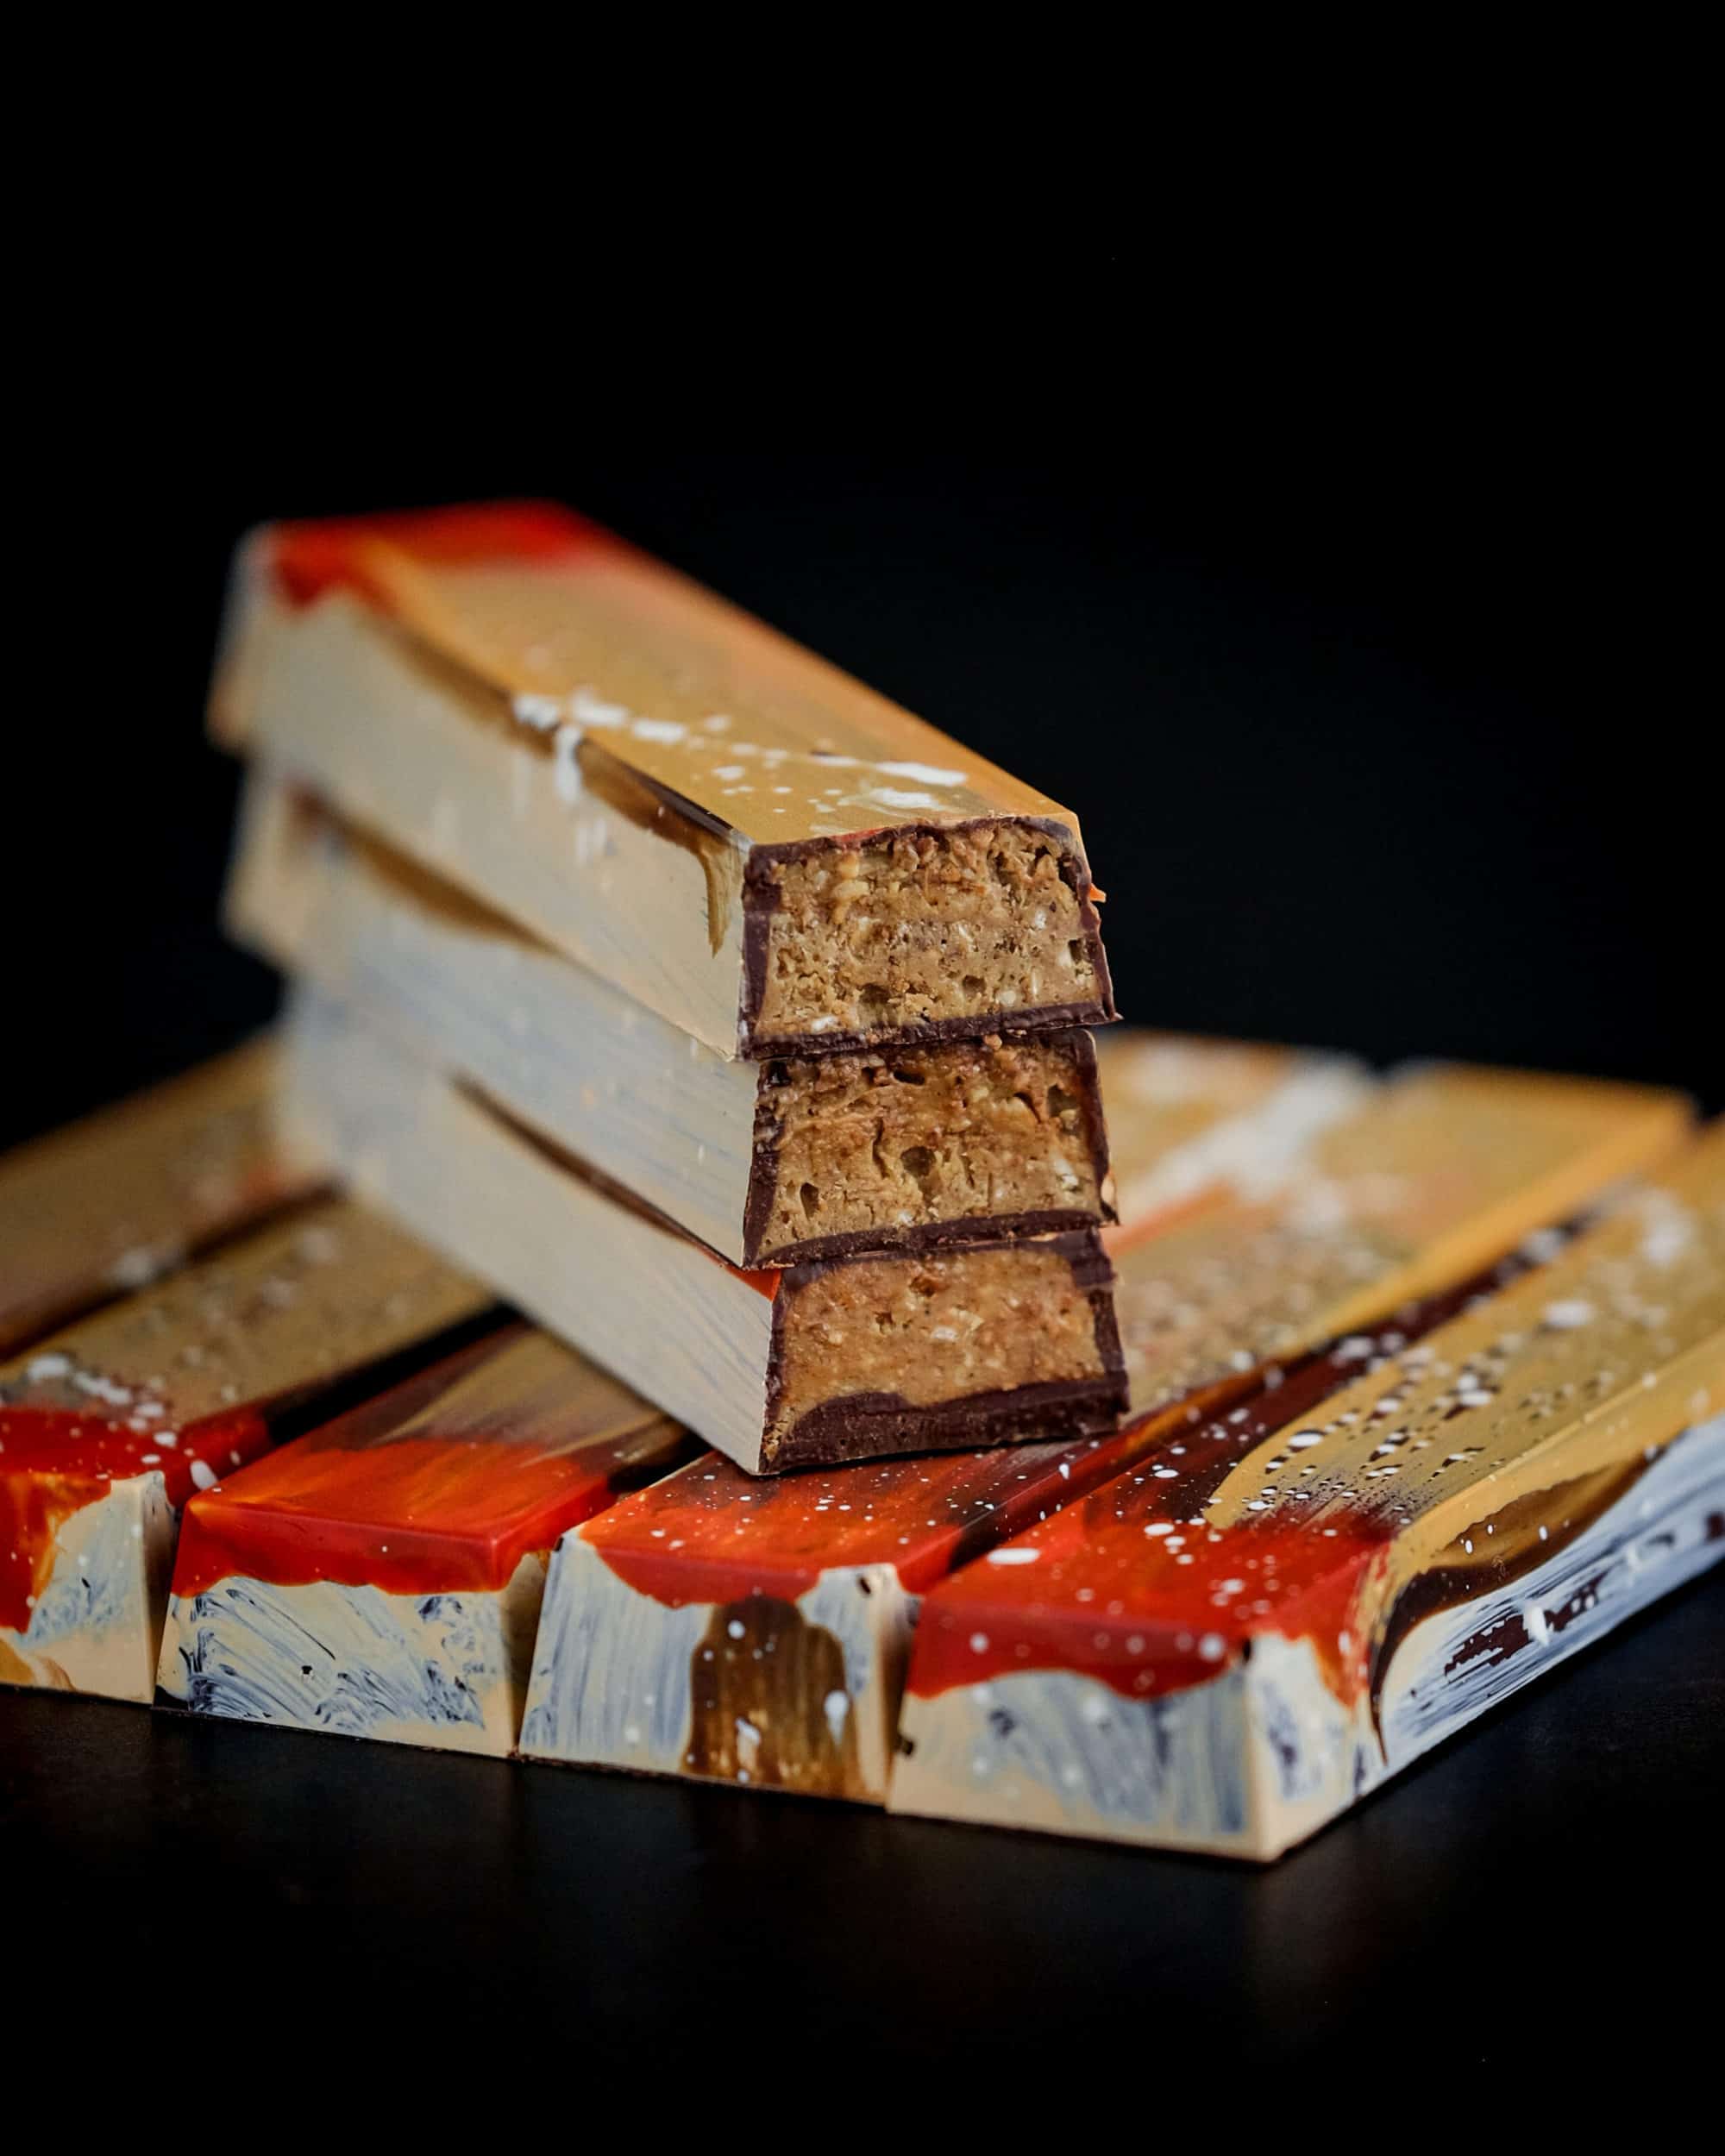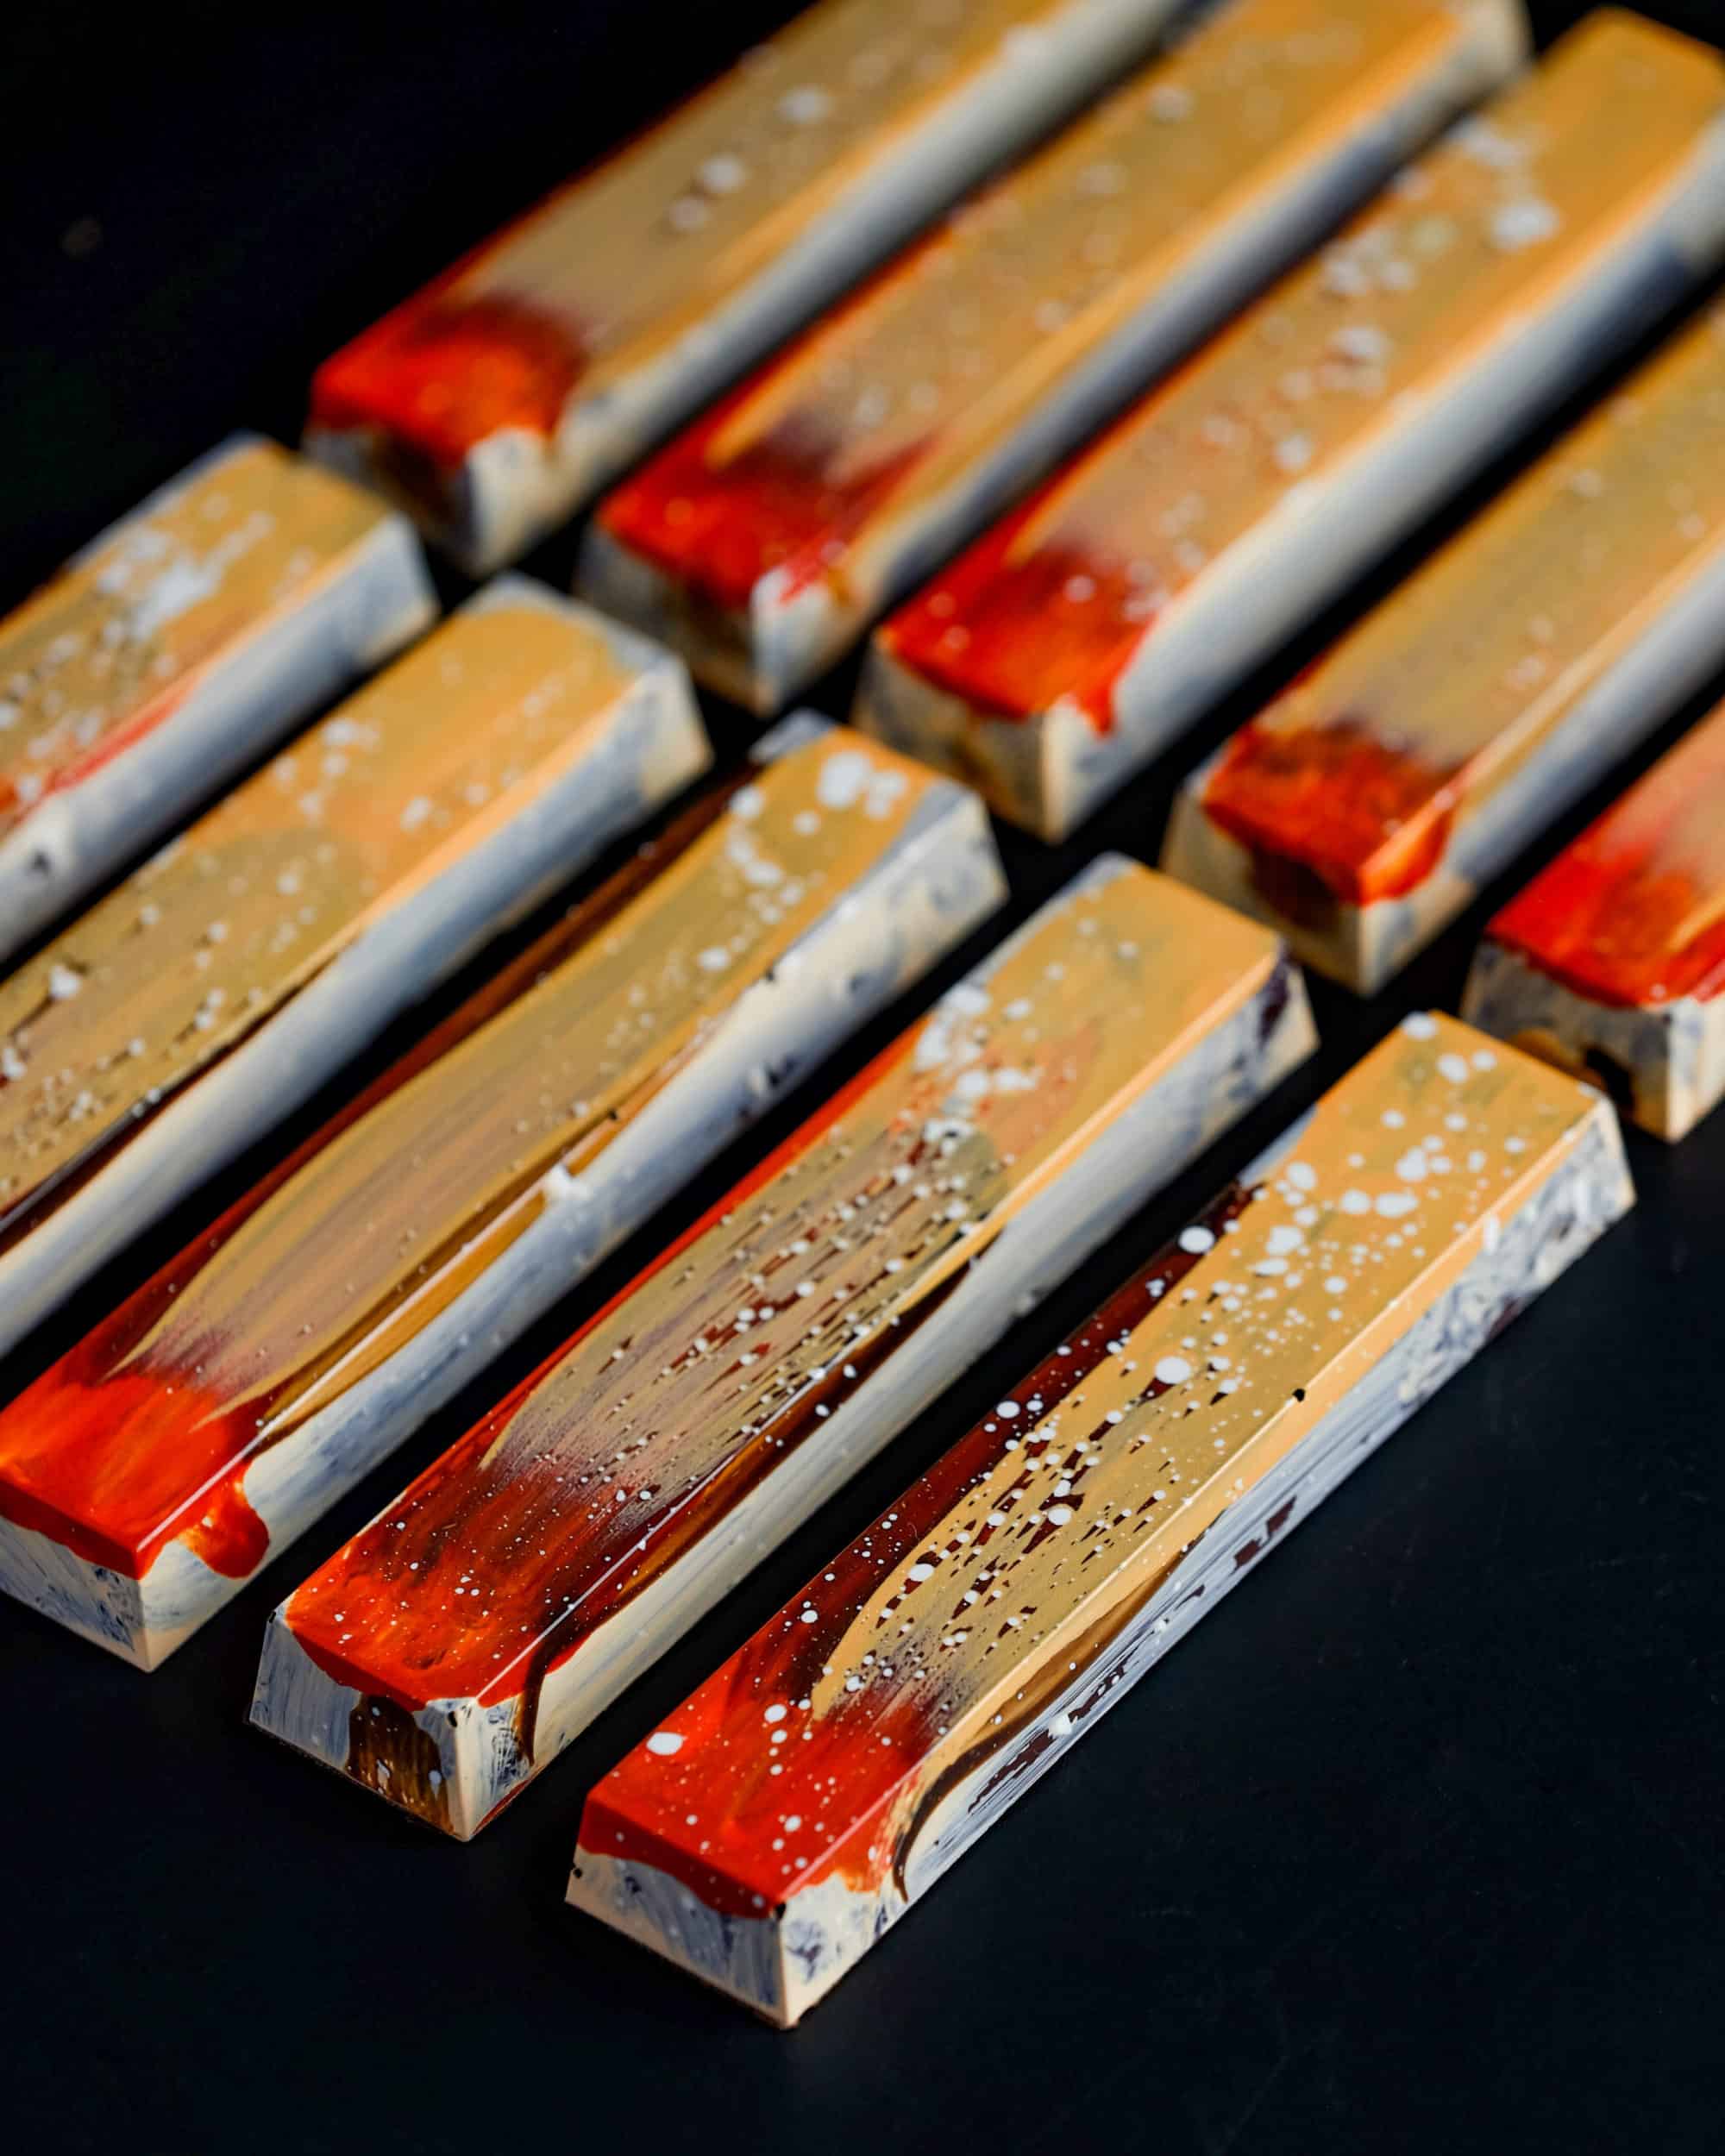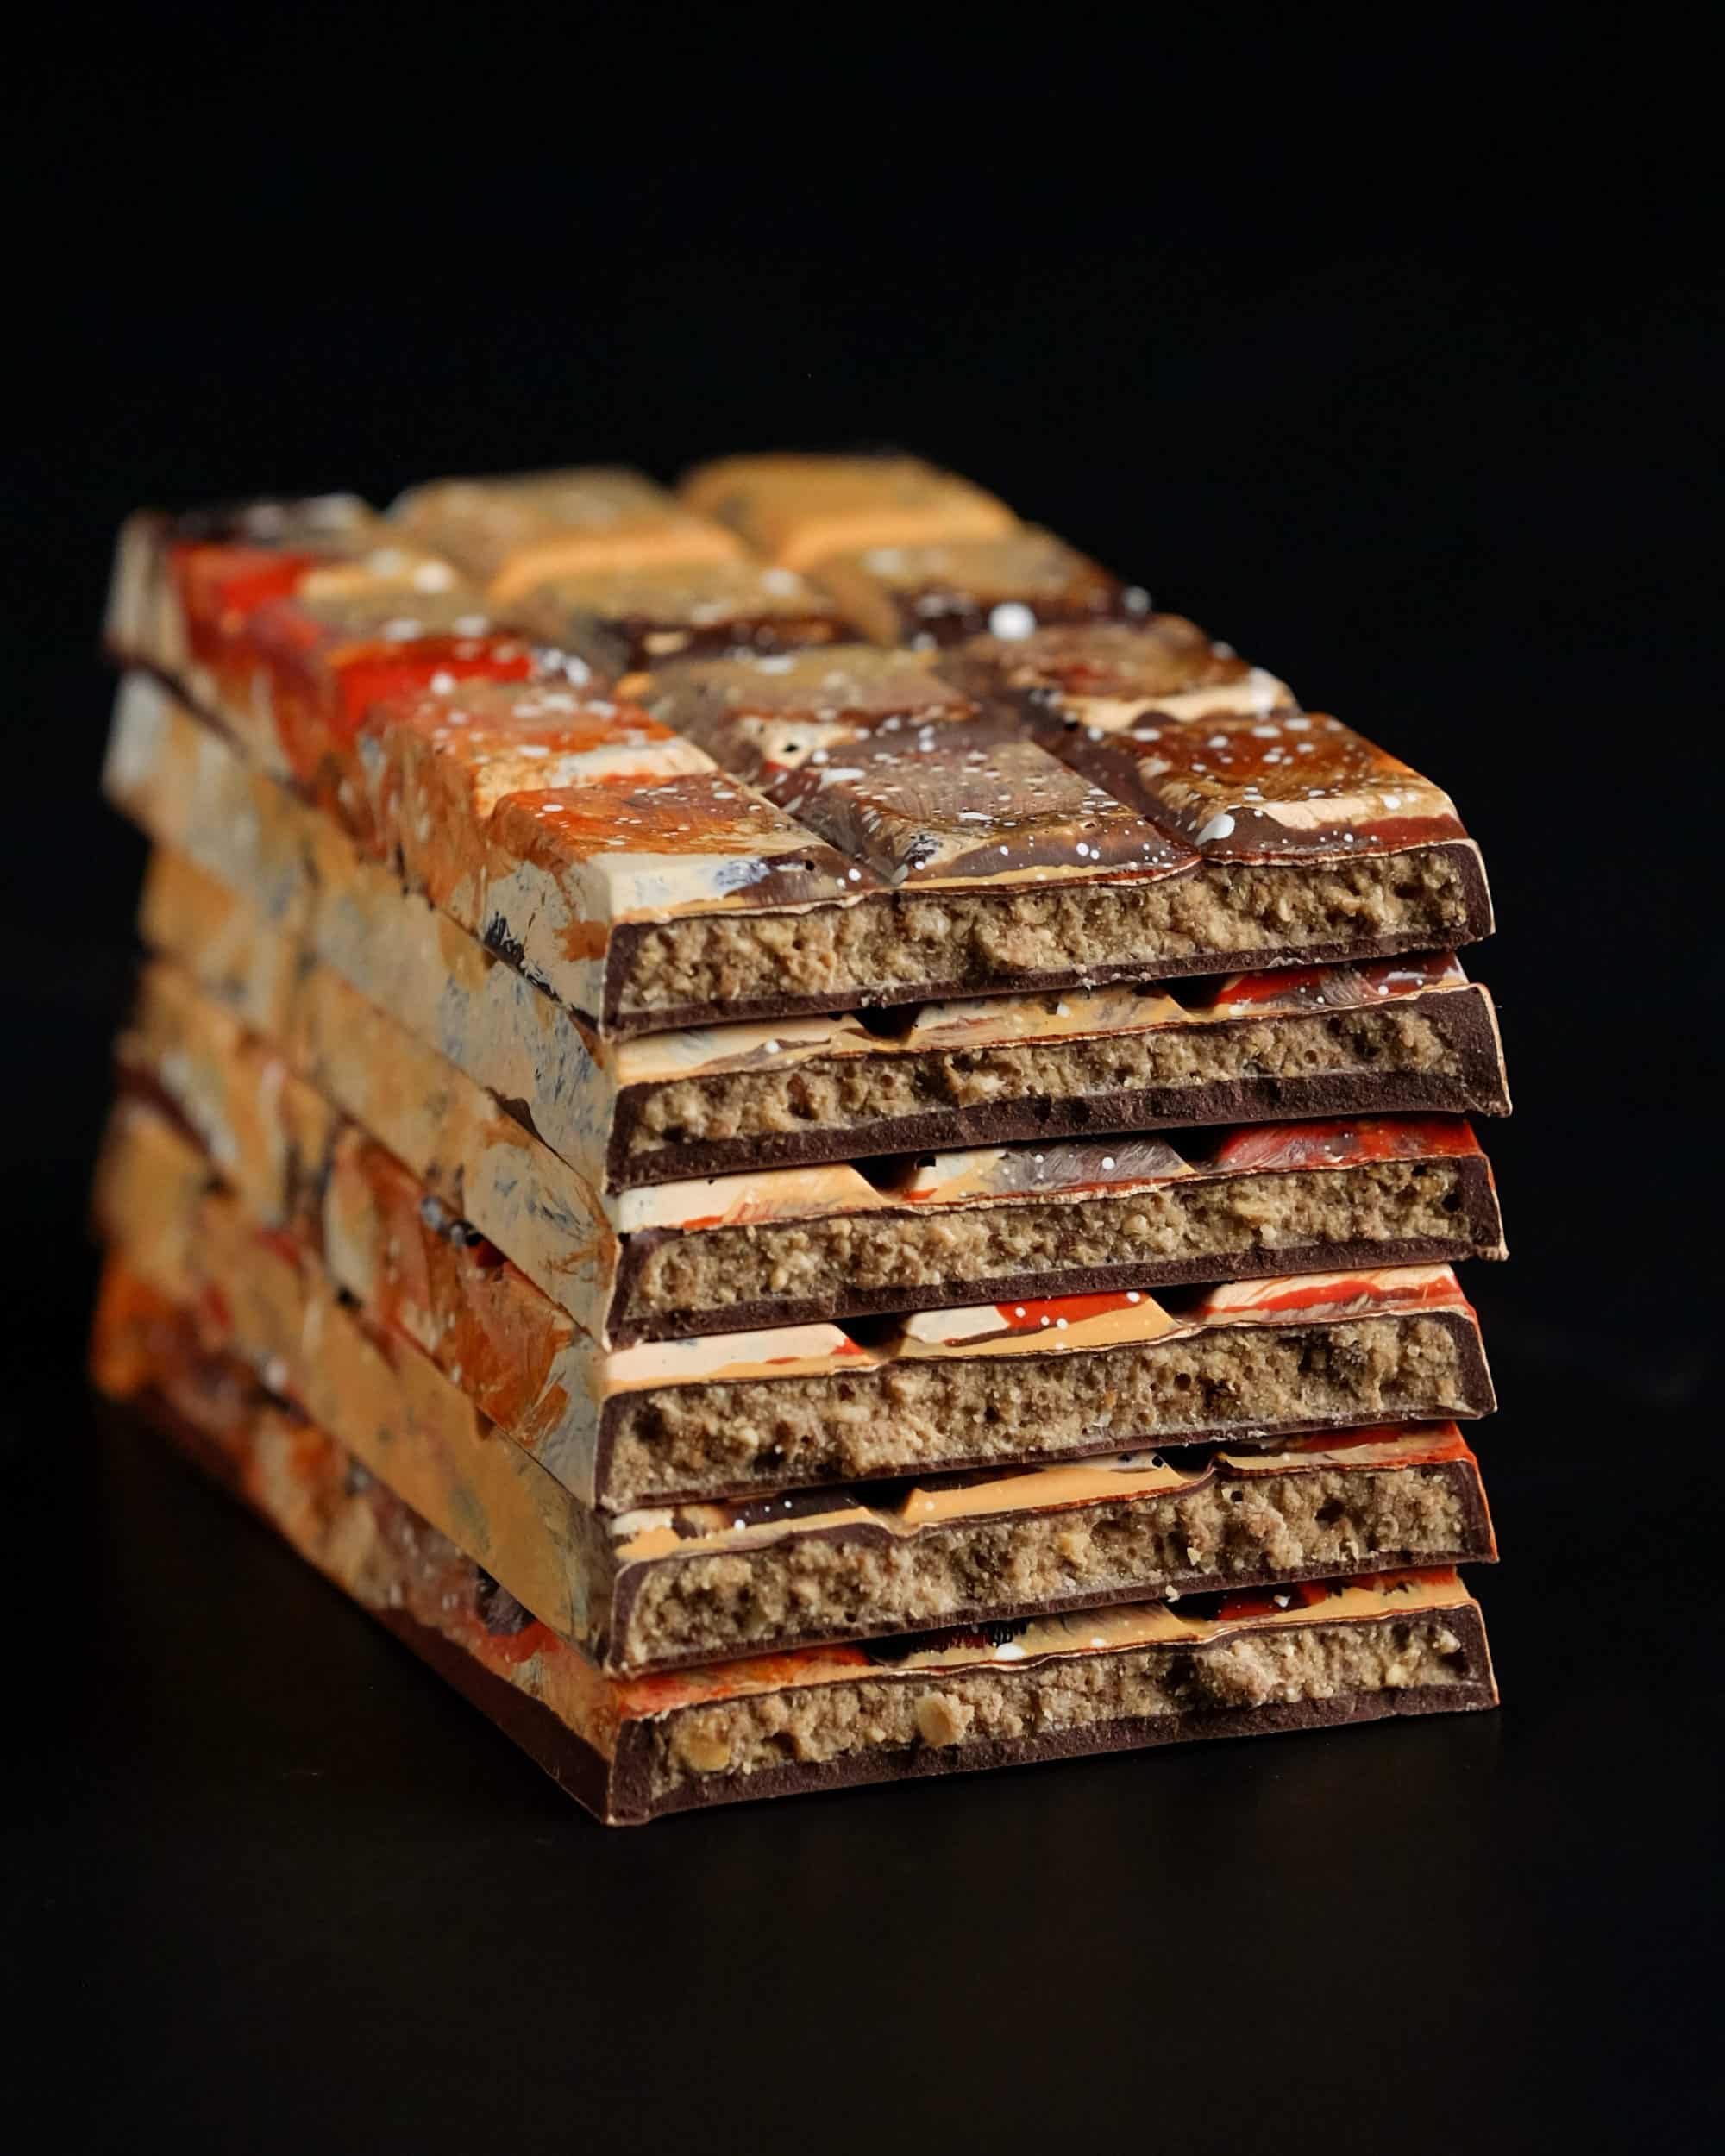
These Gingerbread Filled Chocolate Bars are so delicious. You’ll need to make a few things before you can start on these. The first thing is Blonde Chocolate, which we use in the filling of the bars. You can buy blonde (aka Caramel Chocolate) or make it yourself – click here for a my class on How To Make White Chocolate.
Alternatively, use any shade of chocolate you’d like. However, a blonde or white chocolate will keep the flavours of the granola and spice at the forefront.
The next thing you’ll need to make is my Gingerbread Granola. The granola is blended into the blonde chocolate to create this delicious holiday spiced chocolate bar.
If you’re new to working with chocolate, and have never shelled a mould before, then you’ll need to learn how to do that. Click here for a Deep Dive class on the topic. You’ll see that I am using a half sphere mould, but this technique is the same regardless of the mould shape.
I used two moulds for these. The break apart mould is linked below, but the other mould is no longer available. I have linked below a website with a lot of bar mould options to choose from. I’d recommend choosing one that has a 30g or so capacity.
Gingerbread Filled Chocolate Bars
Ingredients
- 100g blonde chocolate, melted to 45c
- 20g cocoa butter, melted to 45c
- 80g gingerbread granola
- 8 drops sweet orange essential oil
- 1 tsp cinnamon powder optional
- 1 tsp ginger powder optional
- ¼ tsp allspice powder
Instructions
Gingerbread Blonde Filling
- Melt the blonde chocolate and cocoa butter together to 40c or so.
- Once melted, blend all the ingredients together.
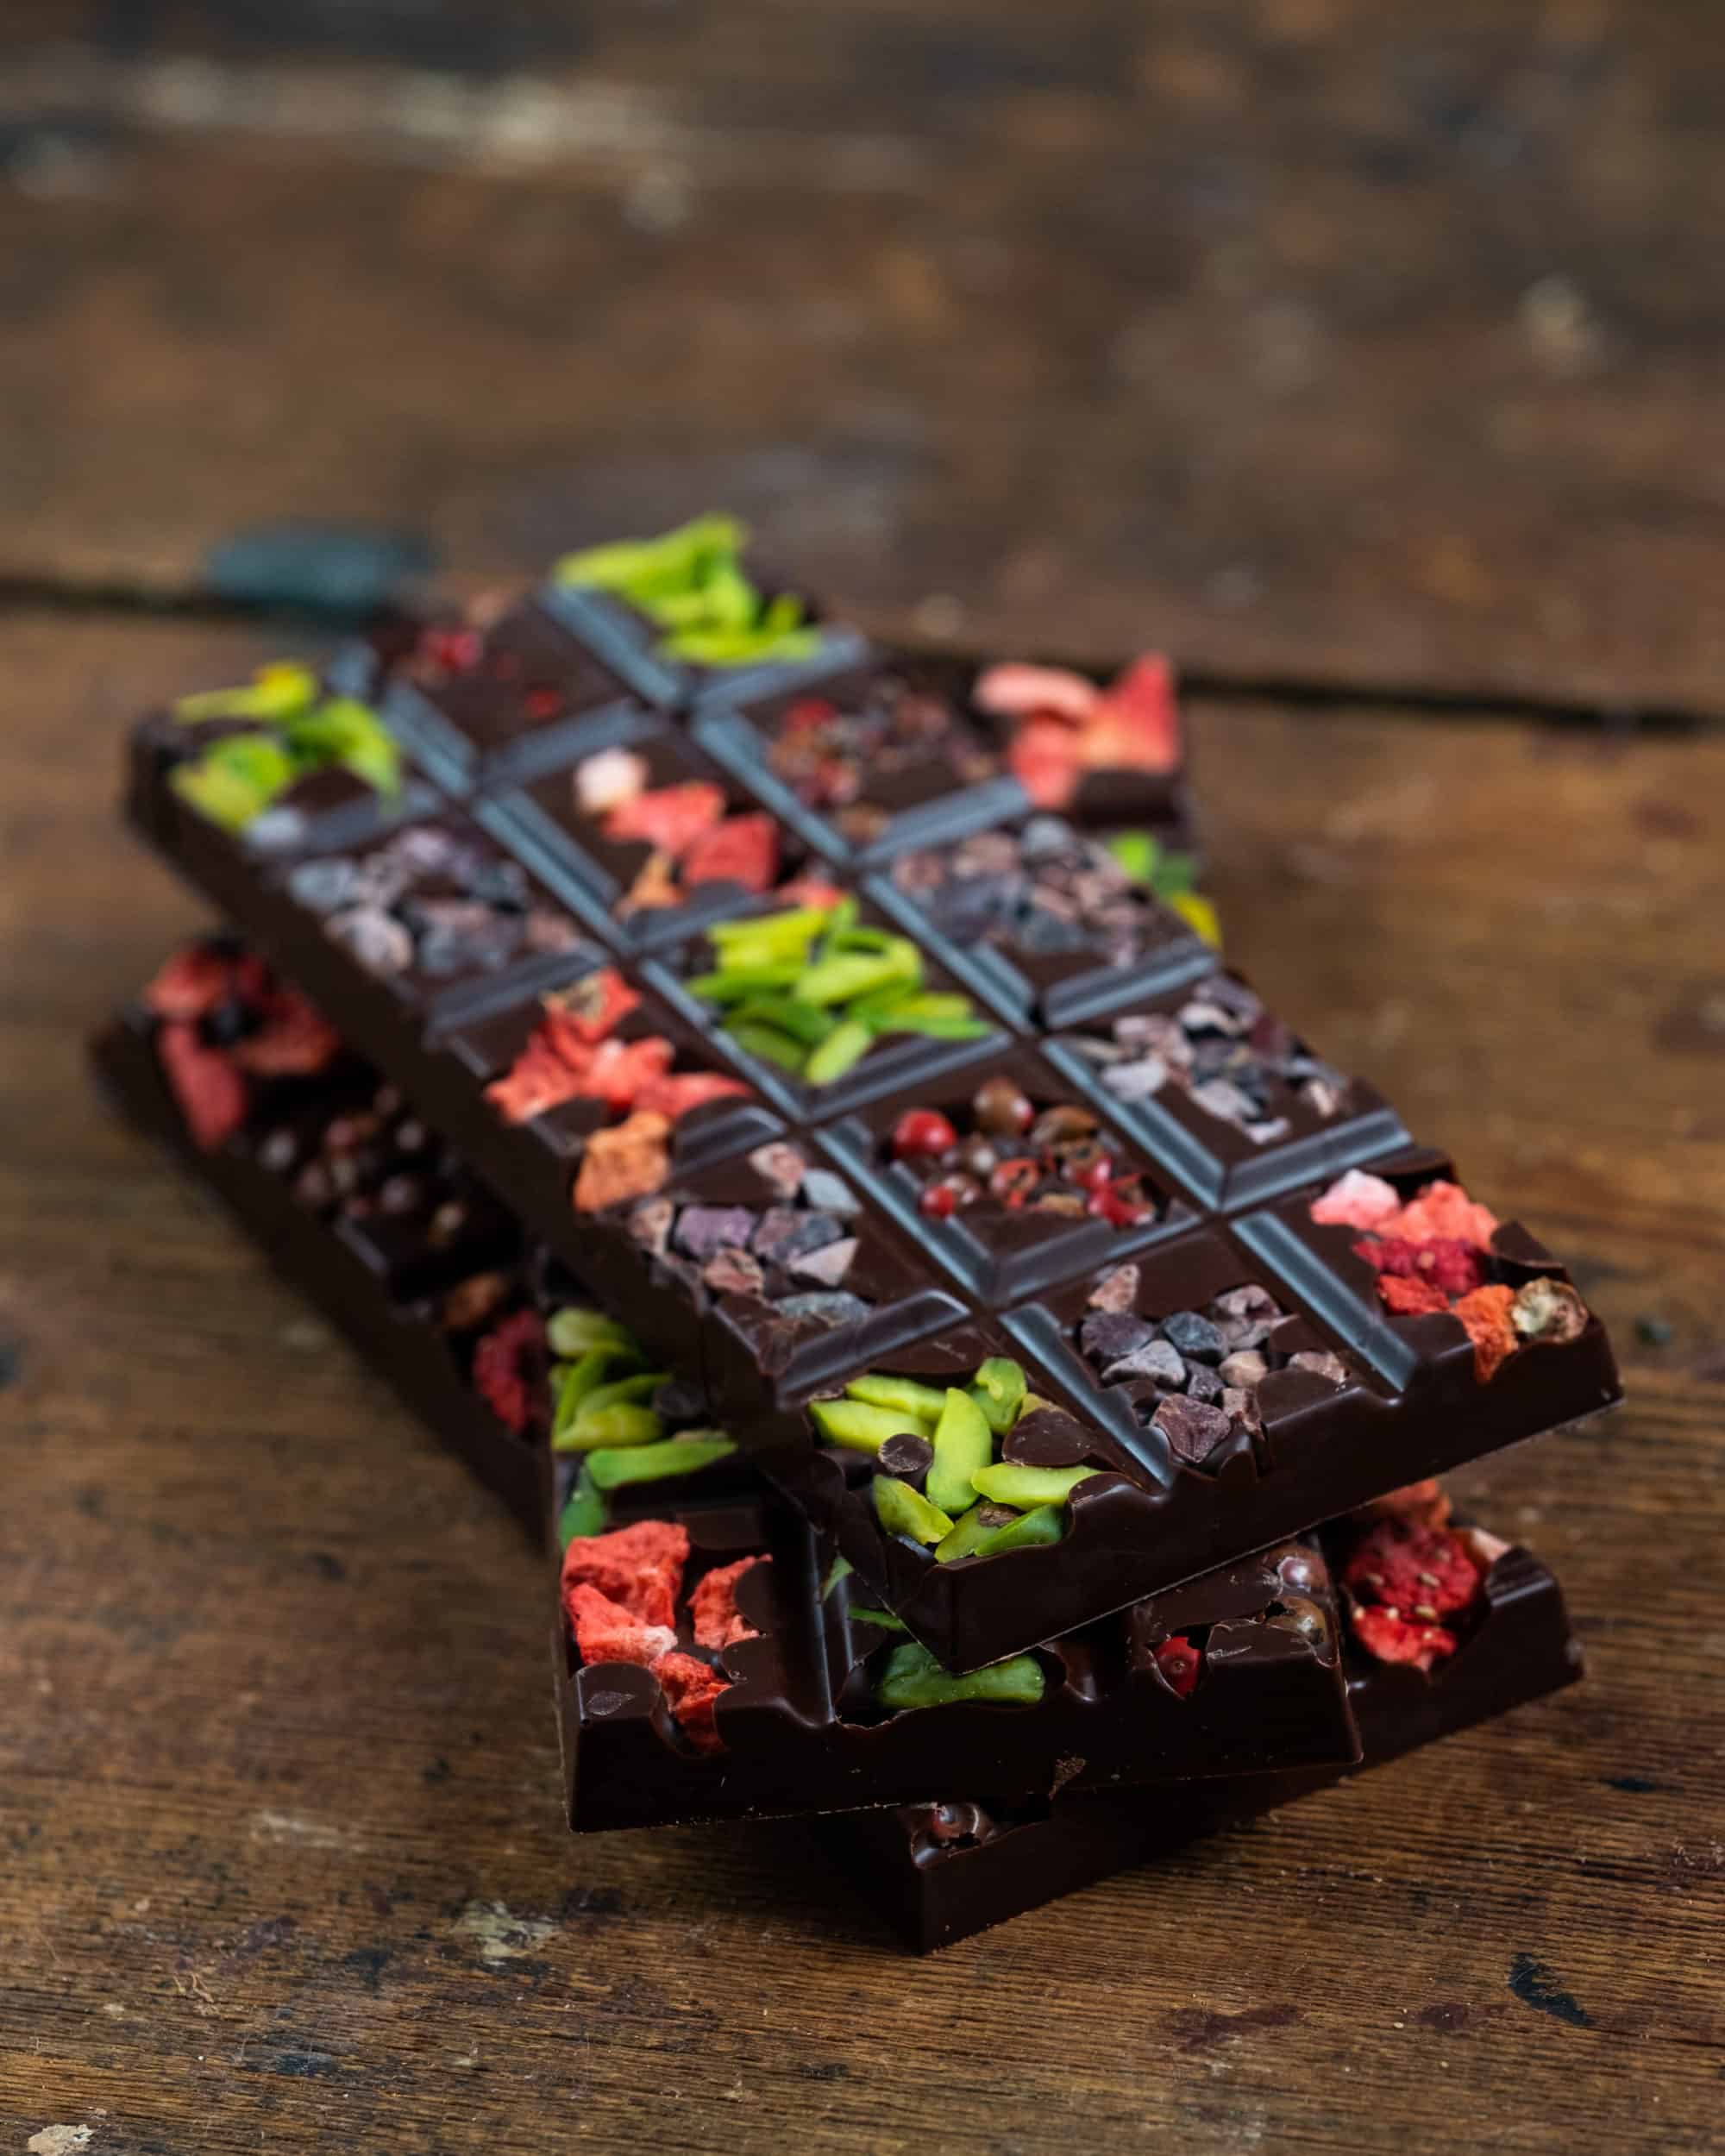
- If you'd like to add some freeze dried or dried fruits to the bars, you can add those into the shell first and then continue with the instructions below.
- When the mixture reaches 36c, add 1% silk and temper. Bring to 30c before piping into the shells.
- Leave 1-2mm of space for capping.
- I use a squeeze bottle with the top cut far down so the hole is about 5-7mm diameter. In that case, the bits can be about 2-3mm. If they are too big they will get stuck in the piping bag or squeeze bottle and cause problems.
- Allow the filling to set in the shells at room temp, about 30 mins min or so before capping.
- Before capping, heat the top of the mould gently with a heat gun or hair dryer to soften the chocolate shell edges. This way the chocolate cap will adhere well and prevent cracking in the seams.
- After capping, allow to set about 1 hour or so before cracking them out of the mould.

FREE Videos: Start watching and learning today
Are you a visual learner? Yeah, me too. These FREE livestream classes cover a wide range of topics within chocolate and dessert making.
Be the first to get free recipes and classes
Join my mailing list and be the first get free recipes and hear about upcoming classes.


