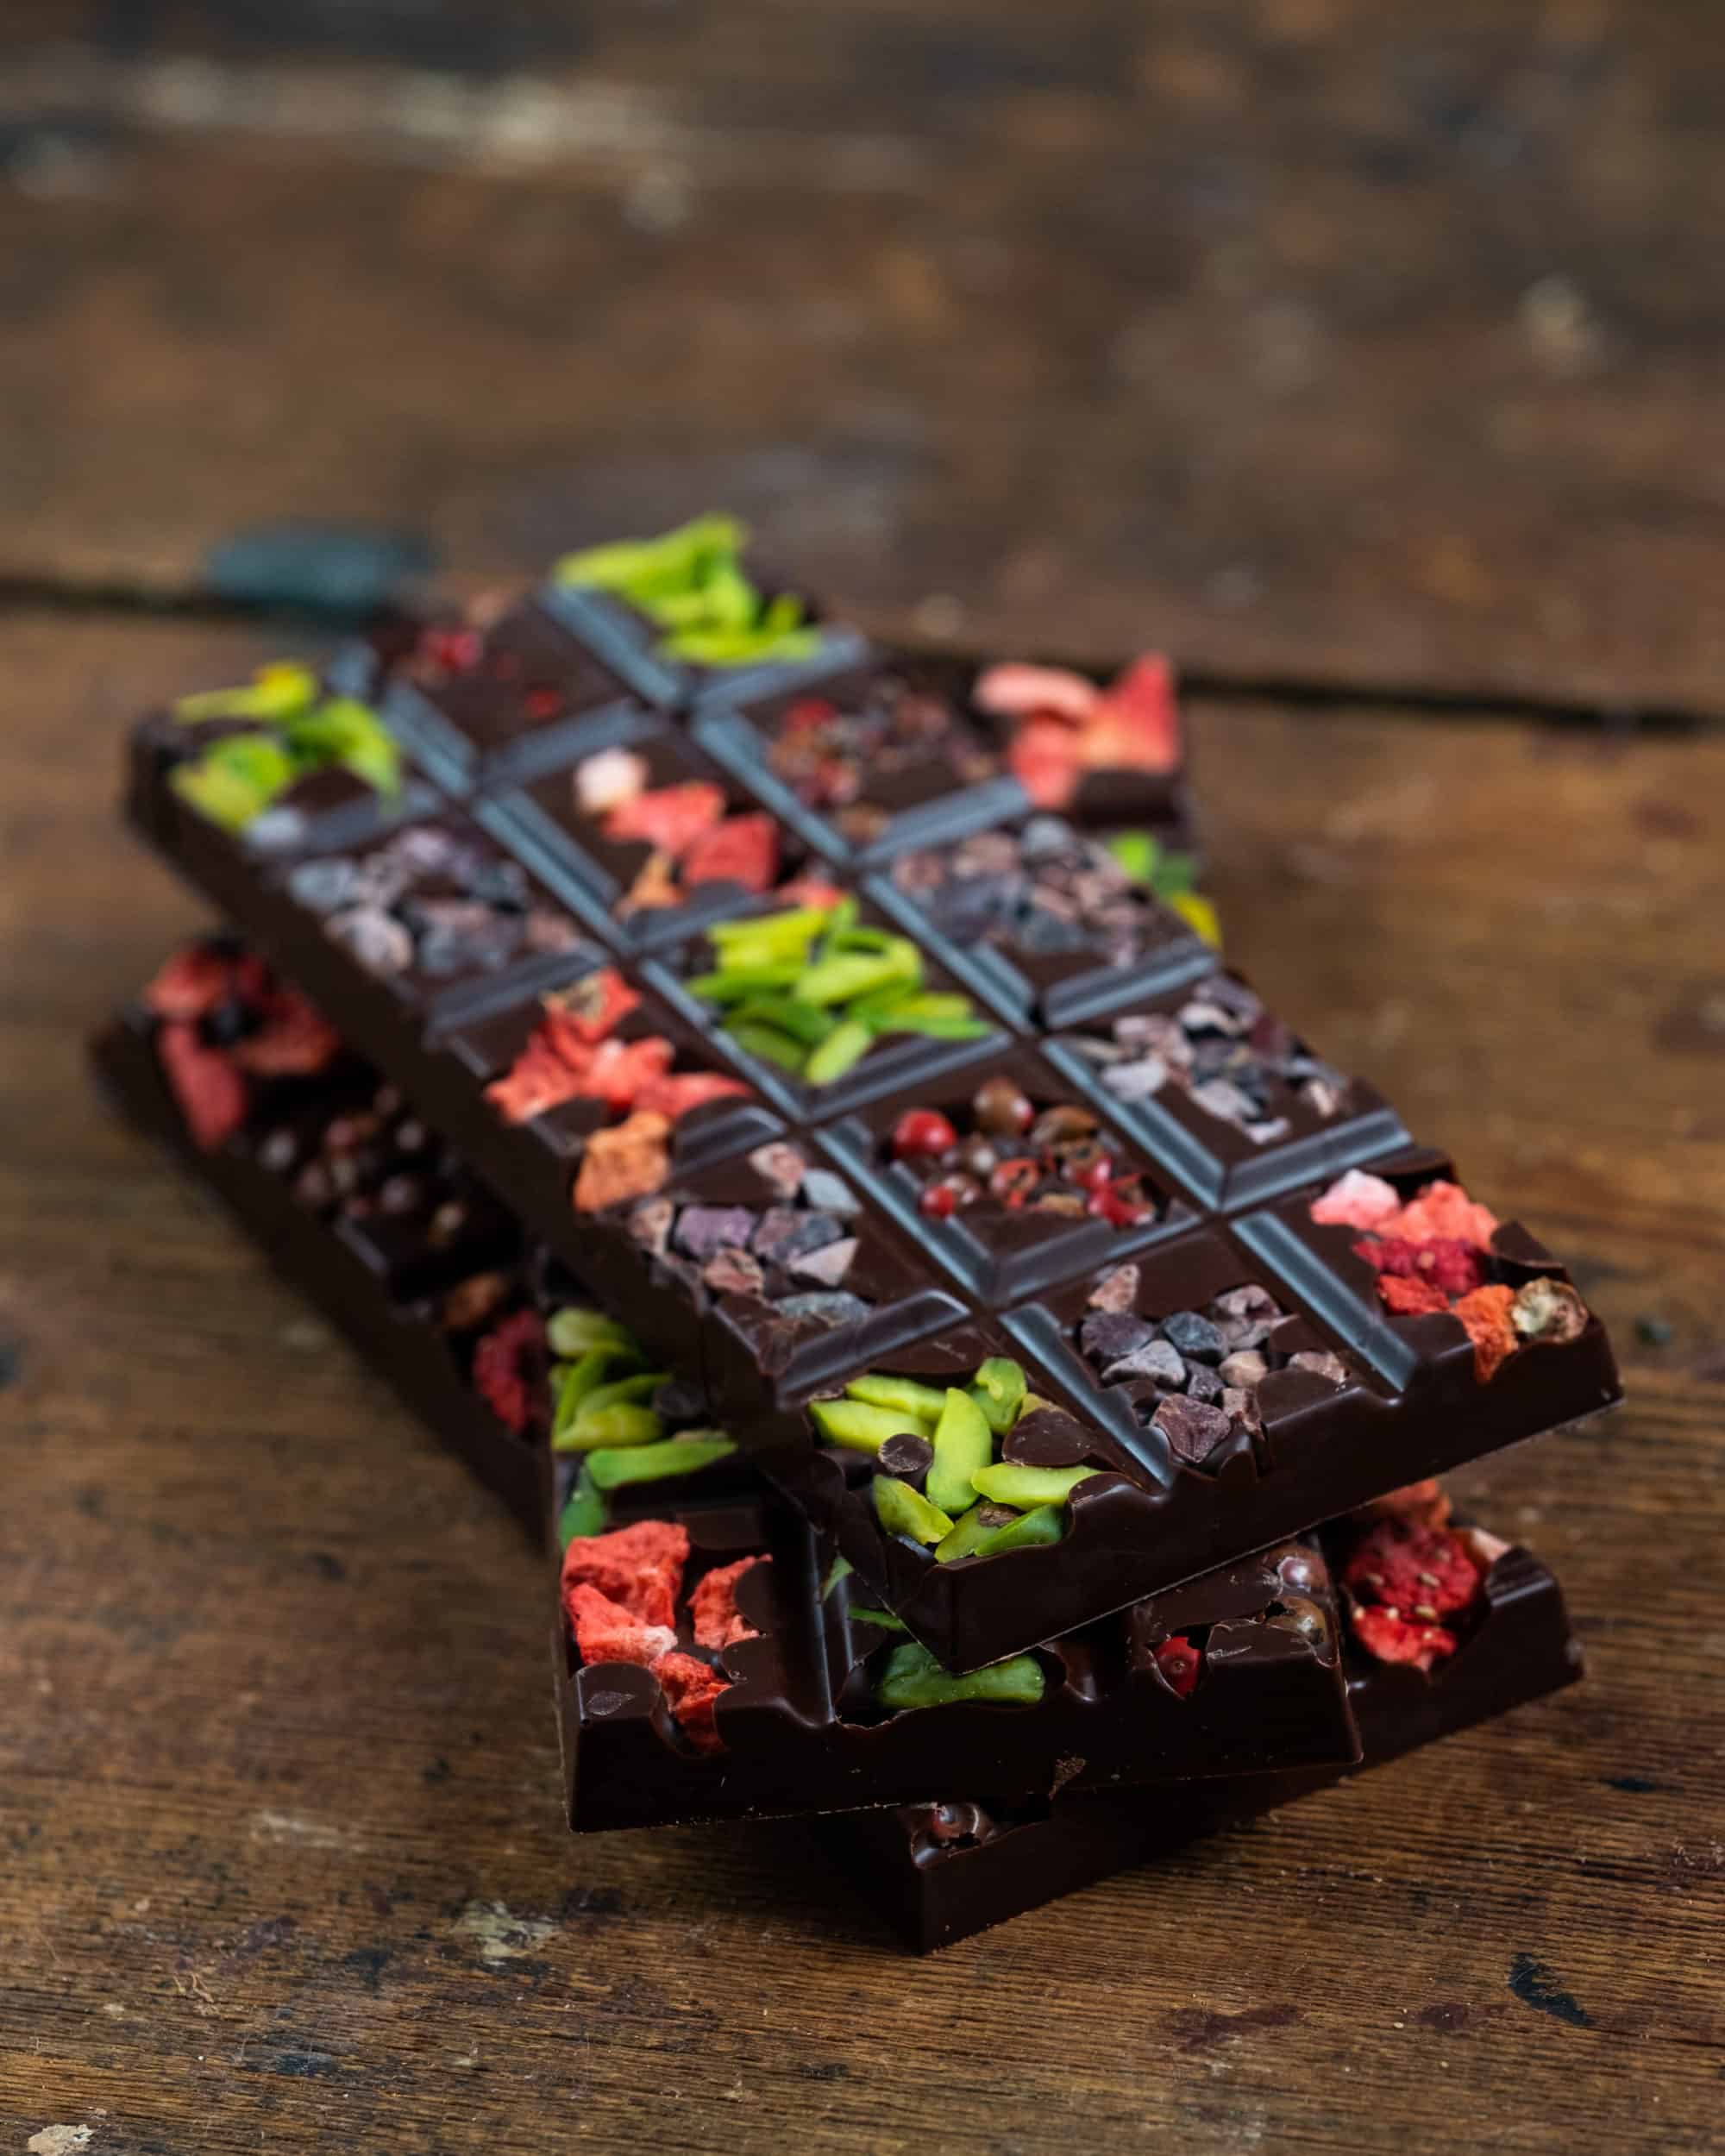
Once you have the basic dark recipe down and you feel confident in your tempering skills, you can do lots of fun things
Today we are going to use enrobing/ dipping. This is something we touched on in the recipe for Raw Milky Truffles; I don’t expect you to still have that email, so I will share all the info again.
If you didn’t give enrobing a shot last time around, then please do this time as it will really move you forward with your skill set.
Let’s revisit a few points on dipping/enrobing
- This takes a lot of patience at first until you get to know the behaviour of chocolate and how it reacts to different temperatures and such things
- That which you are dipping should be at room temperature when you enrobe it; if the item is cold when you dip it, it will push through the surface of the chocolate shell (the following is an exception to this rule as it will be kept frozen)
- They may not come out perfect the first time, but it’s all about having fun and being creative, so who cares?!!? Also, you will be learning important lessons as you go along. Those lessons are highly valuable to your chocolate journey
- You may need to work quickly at times and give the chocolate a little heat every now and again if it gets too thick while you work with it
- It’s all about the thickness of the chocolate…
- When using chocolate to enrobe, you want the temperature at about 26c/78.8f, (for dark chocolate) but more important than temperature is consistency; the chocolate should be thick enough to give a nice thick coating on the first dip.
- If it’s not thick enough, you will know once you dip the first item. This is not a problem, just allow that first item to set and re-dip it. Before continuing, whisk the chocolate until it comes to a thicker consistency
- Remember, this takes patience. After you have dipped the item, place it on a sheet of greaseproof paper or a teflex lined dehydrator tray, sprinkle with some chopped nuts and pop in the fridge to set
-
Let’s get you rockin’ and rollin’!
Chocolate Covered Apple and Banana Lolly Pops
Things you will need in order to get started:
A bunch of ripe bananas
4 Apples
Toothpicks
Lolly Pop sticks (I got mine from amazon.co.uk )
A baking tray lined with greaseproof paper or a dehydrator tray lined with teflex
500g dark tempered chocolate
To garnish your fruit:
> Soaked and dehydrated chopped nuts: almonds, walnuts, pistachios, hazelnuts, etc..
> A mix of ¼ c cacao nibs, ¼ c coconut sugar and 1 tsp cinnamon
> Dried fruit of your choice; sliced cranberries, chopped cherries, chopped blueberries, etc….
> Dried desiccated coconut
> Raw Granola
> Candied Nuts and Seeds
- First things first, freeze the bananas. Peel them and cut into 2 ½ inch chunks
- Insert a toothpick ¾ the way through the chunks and place on a greaseproof paper lined baking tray in the freezer for 4 hours – overnight
Method:
- Once the bananas are frozen you can get everything else ready
- Prepare any garnishes you wish to use by chopping them (if necessary) and placing them on plates or in bowls ready to use. If you are going to roll the fruit into the garnishes, then you will want to have a few plates of garnishes too
- Clean and dry your apples (they must not be moist on the skin or the chocolate will not react well ) and then insert the lolly pop stick ¾ way through the apple. Place on a baking tray lined with greaseproof paper
- Make a double batch of the dark chocolate recipe I sent you a few weeks back ( it’s good to have lots of chocolate when dipping, makes it easier) or re temper chocolate you already have. When it has finished tempering, continue to keep it in motion until it reaches a thick consistency
- You can do this by eye, but can also take the temperature to help you along… you are looking for it to be about 25c / 77f. Temperature cannot always be relied upon, so try to get familiar with the look and “feel” of the chocolate too
- Once your chocolate is ready, take the bananas out of the freezer and place on the tray with the apples. Situate the tray to your left, the toppings in front of you and an empty tray to your right. If you are a lefty then reverse that order
-
It’s important that you are organised and work cleanly when it comes to working in the kitchen and specifically with chocolate
- Now, start dipping! Start with the bananas as they will be thawing and you want to dip them while they are frozen. Dip the banana ¾ way into the chocolate, allow excess chocolate to drip off and then sprinkle toppings on or roll the banana in the toppings
You can just roll the sides, only cover the bottom, cover the whole thing, it doesn’t matter, just have FUN!
- If the chocolate is too thin, then simply continue whisking it until it thickens. If it starts getting too thick and difficult to work with, apply a little heat using a hair dryer or by placing in the dehydrator on high for about 15 seconds at a time between gently mixing it


