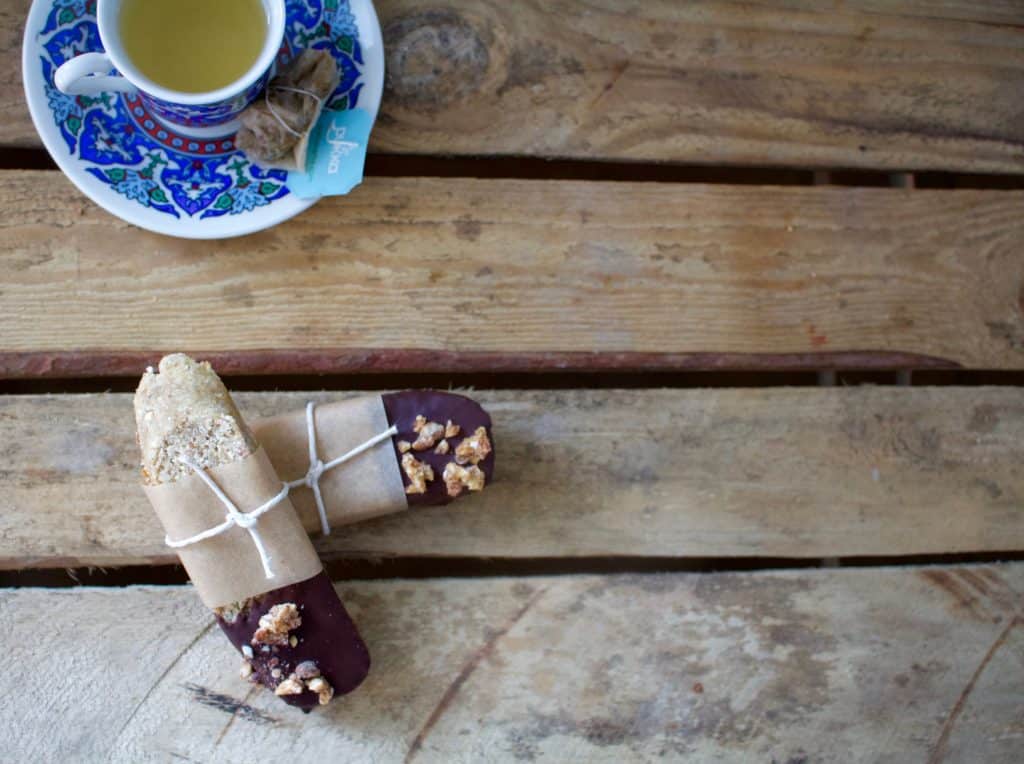
I remember going through a phase back in my early raw food days of wanting to nail a biscotti recipe. Not like, “It looks just like biscotti, but the texture is way off” — I’m talking about light, crisp, sweet and gently aromatic. I tried so many ways of making it and was always miles off. Back then, if I tried several times and didn’t make progress, I gave up. I didn’t know enough about all the ingredients at my fingertips in order to fix the problems I was facing.
This past weekend I had some ladies around for a private class and we made this incredible texture to add to chocolate and they said “This would make an awesome biscotti” and, with those simple six words, I had a new obsession; nailing biscotti. This time I was much better equipped with the knowledge and experience needed to problem solve the issues I couldn’t last time.
For those of you who want to know my development process, it went like this…
- The crackers I make for my classes are light and airy and amazing. Students always rave about them and ask for the recipe. So, let me start with that base, in my head, and see how it goes.
- I wanted it to be visually like biscotti too, and crackers are really thin which could add to their lightness. In order to make them like biscotti, I’d need to add far too much flax and it would be very dense and heavy. So, that was out.
- What makes the crackers light is not the flax, it’s the buckwheat and nut combo. What can I use to thicken the mix enough to form into a log for dehydrating, but also keep it really light and a bit airy? Psyllium.
- I have a recipe for sweet crackers that I really like, but they always turn dark brown and I am pretty sure that’s due to the coconut sugar. So, I won’t use coconut sugar, I’ll use maple syrup and a little xylitol to balance the sweetness — I don’t want it tasting like maple too much.
- It’ll need something to bind it together that will retain its light colour and not make it too dense. In small doses, coconut flour is great for that. It’s white and it binds due to how absorbent it is.
And that was how I created this recipe, logically speaking, next was to get in there practically. The only factor that’s a bit tricky is getting them out of the dehydrator at just the right level of dryness. If they over dry, they end up rock hard. They should be crisp on the outside and chewy just on the very inside. Best way to tell without breaking one open is to give the middle a gentle squeeze and if it’s got a little give to it, then it’s done.
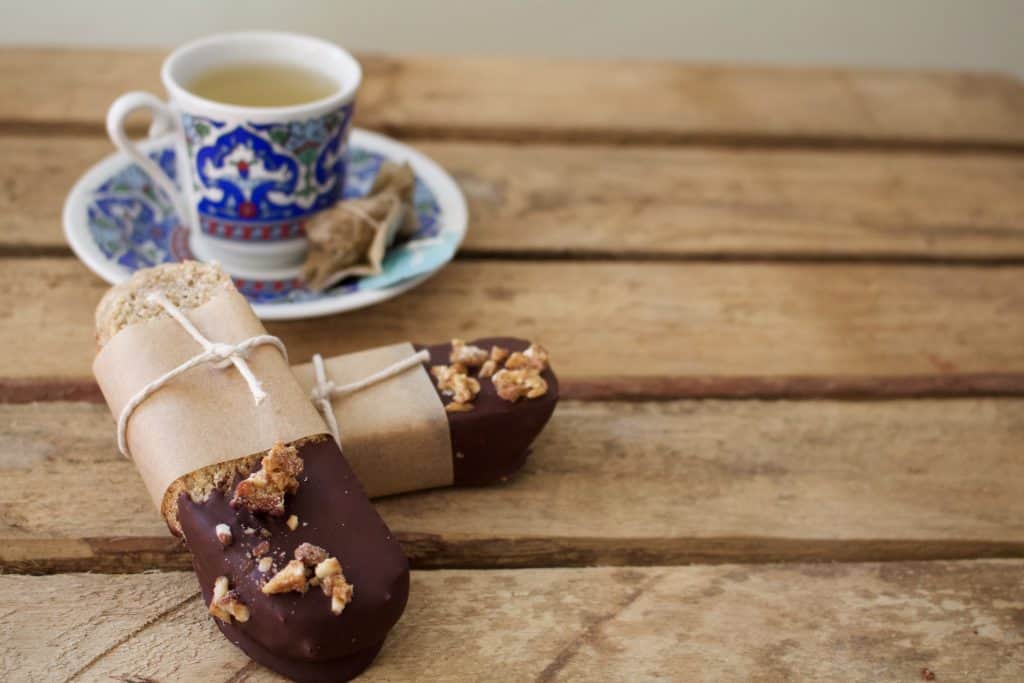
Raw Almond Biscotti
175g ( 1 cup ) buckwheat, soaked 1 hour, sprouted 12 hours
125g ( 1 cup ) almonds, soaked 8 hours and rinsed
30g ( ¼ cup ) coconut flour
100g ( ⅓ cup ) maple syrup
50g ( ⅓ cup ) xylitol
10g ( 1 tbsp ) psyllium husk
Pinch of sea salt
1 tsp vanilla extract
1 tsp almond extract
Method
- Before using the buckwheat, give it another rinse in a sieve and then allow it to drip dry for 5 minutes to remove as much excess water as possible. Any excess water will change the texture and dilute flavour.
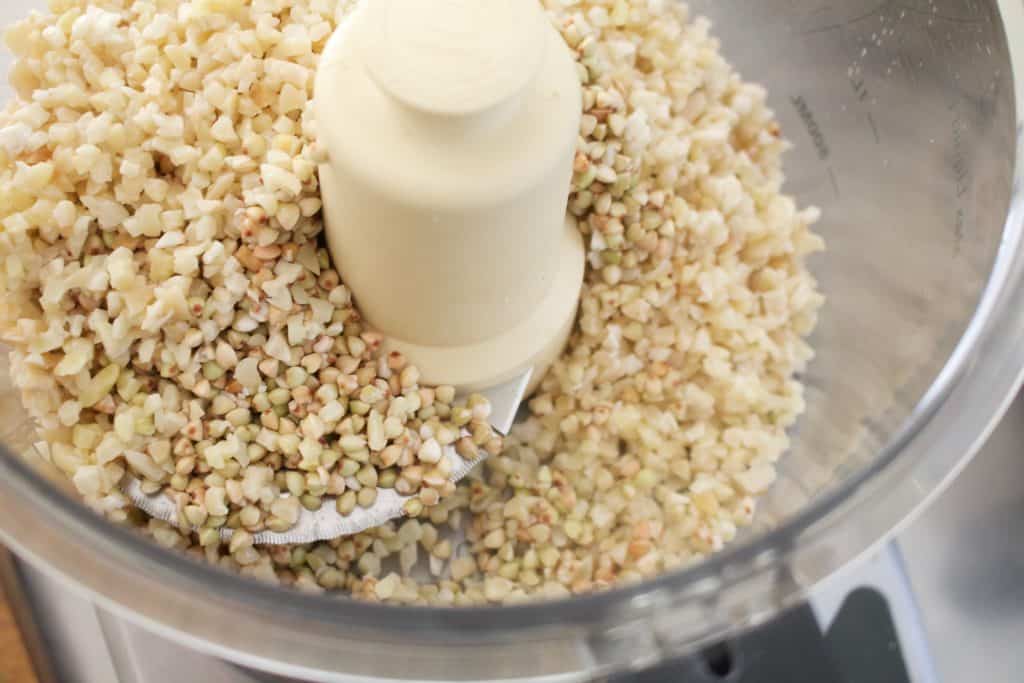
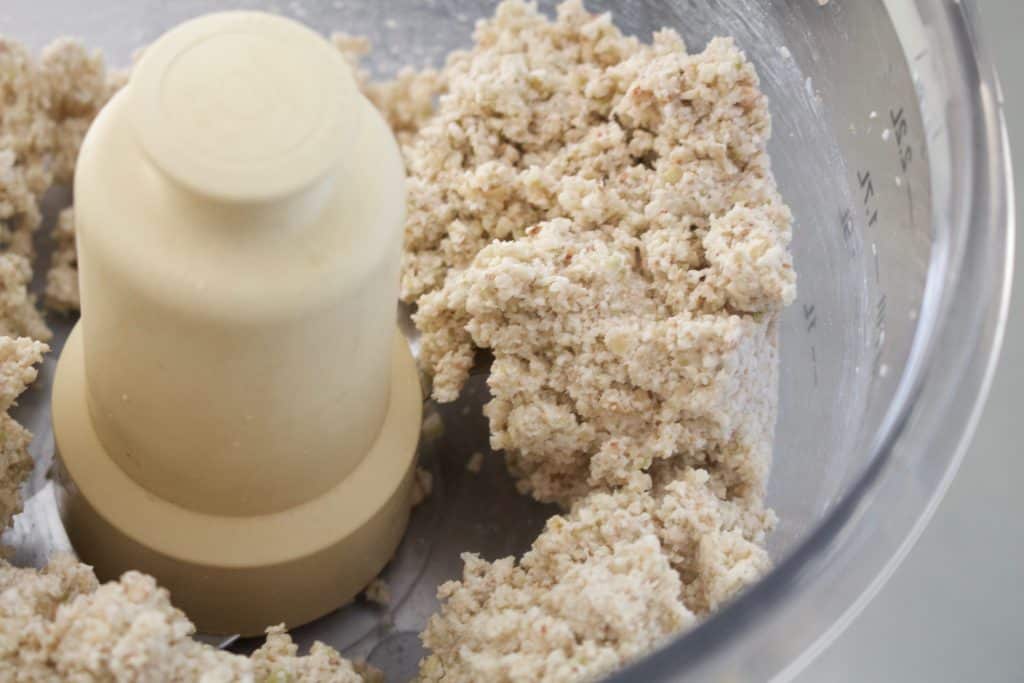
- Pulse the buckwheat and almonds in a food processor to break down into a rough dough consistency. We want a little texture remaining, but not too much.
- Transfer to a bowl and add the remaining ingredients by hand. Mix well to combine.
- Moisten your hands a little so the dough doesn’t stick to them and transfer the dough to a Teflex dehydrator sheet.
- Form into a ball and then mould into a log shape on the sheet.
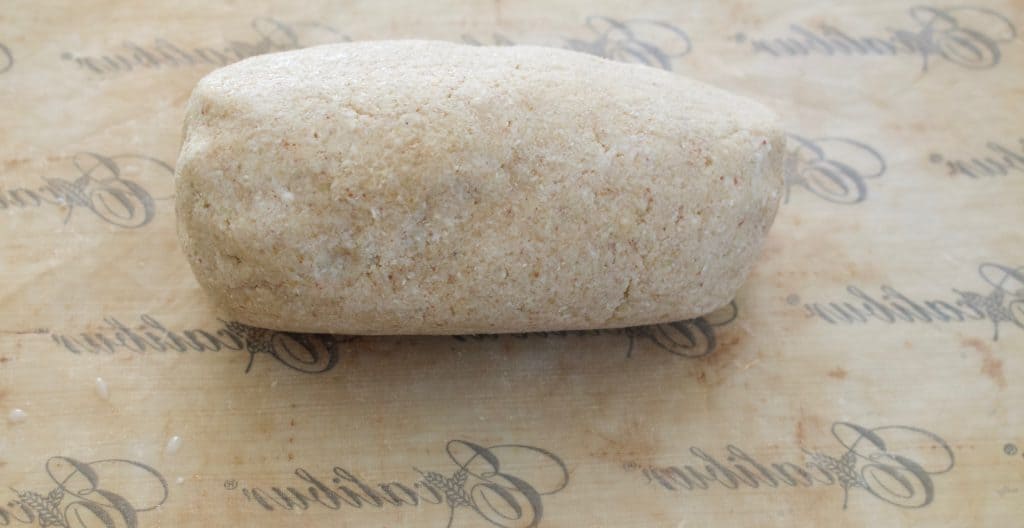
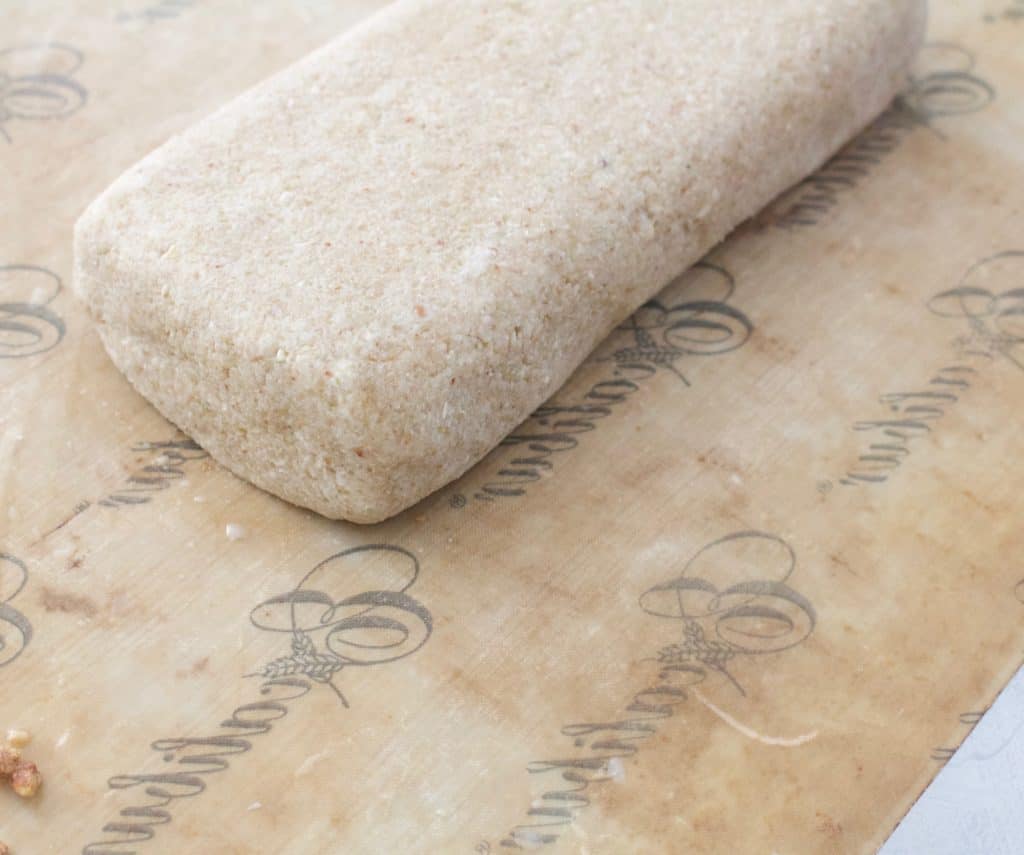
- Sprinkle some candied or activated almond crumble on top for decoration.
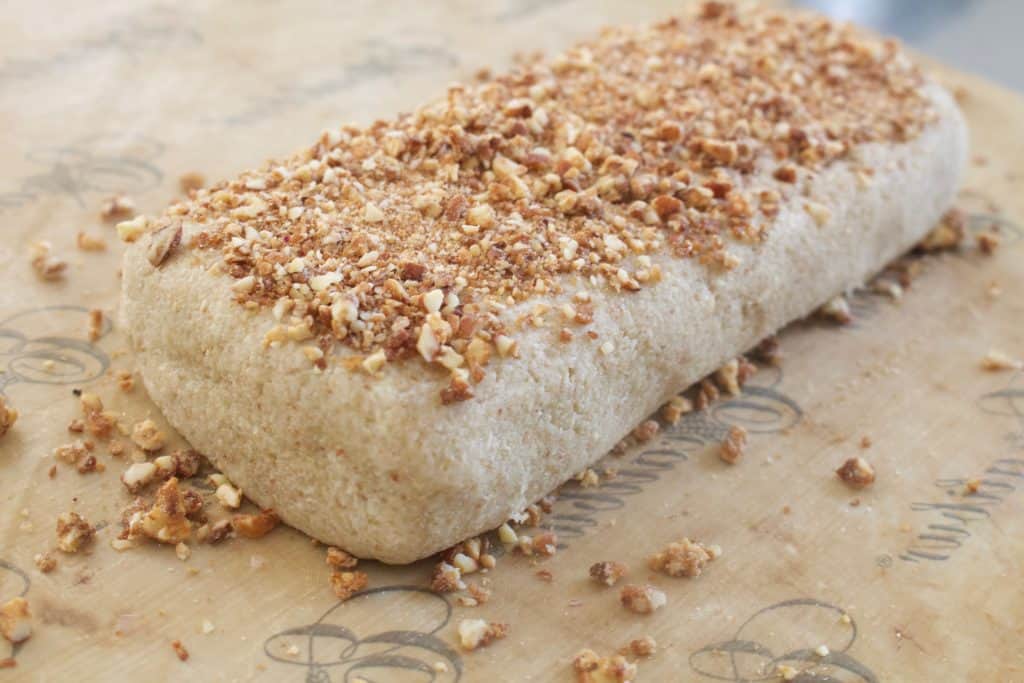
- Dehydrate for 8 hours or until firm enough to transfer off Teflex and onto a mesh tray to continue drying until able to cut, about 8-10 more hours.
- Once ready to cut, slice on a bias and place back on the mesh tray and dehydrate until fully crisp through, about 4-8 more hours. You might want to dampen your knife a little to help it slide through without sticking, don’t use a serrated knife.
- Allow them to come to room temp before storing or dipping in chocolate.
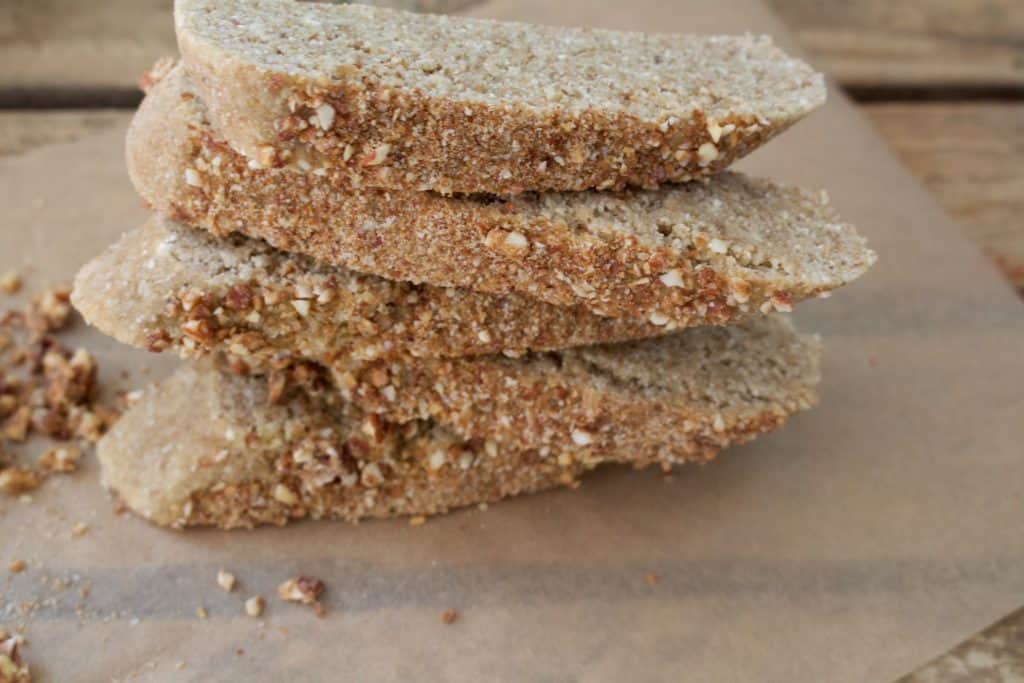
- Follow enrobing instructions (click here) and either half or fully dip them and garnish with candied or activated almonds.
- Either way, dipped or not, store in an airtight container for several weeks.
FREE Videos: Start watching and learning today
Are you a visual learner? Yeah, me too. If I can’t be there in person, I love a video. This FREE mini series covers everything you need to know in order to start making professional quality chocolate at home with ease.
Want to know when a new recipe is posted?
You’re busy. I know this. You can’t keep checking my site for new recipes. Sign up for my newsletter and I’ll send you a new recipe every week. Boom!


